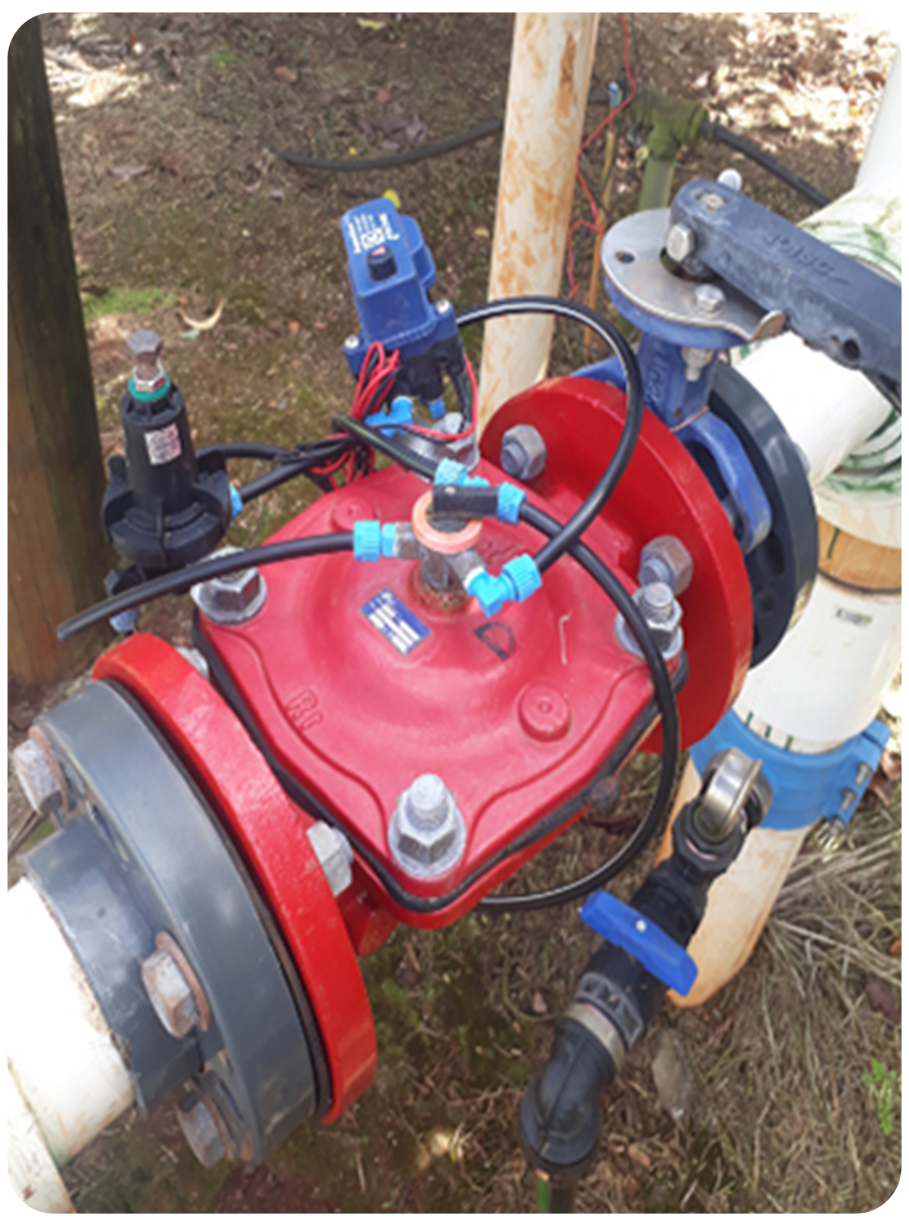
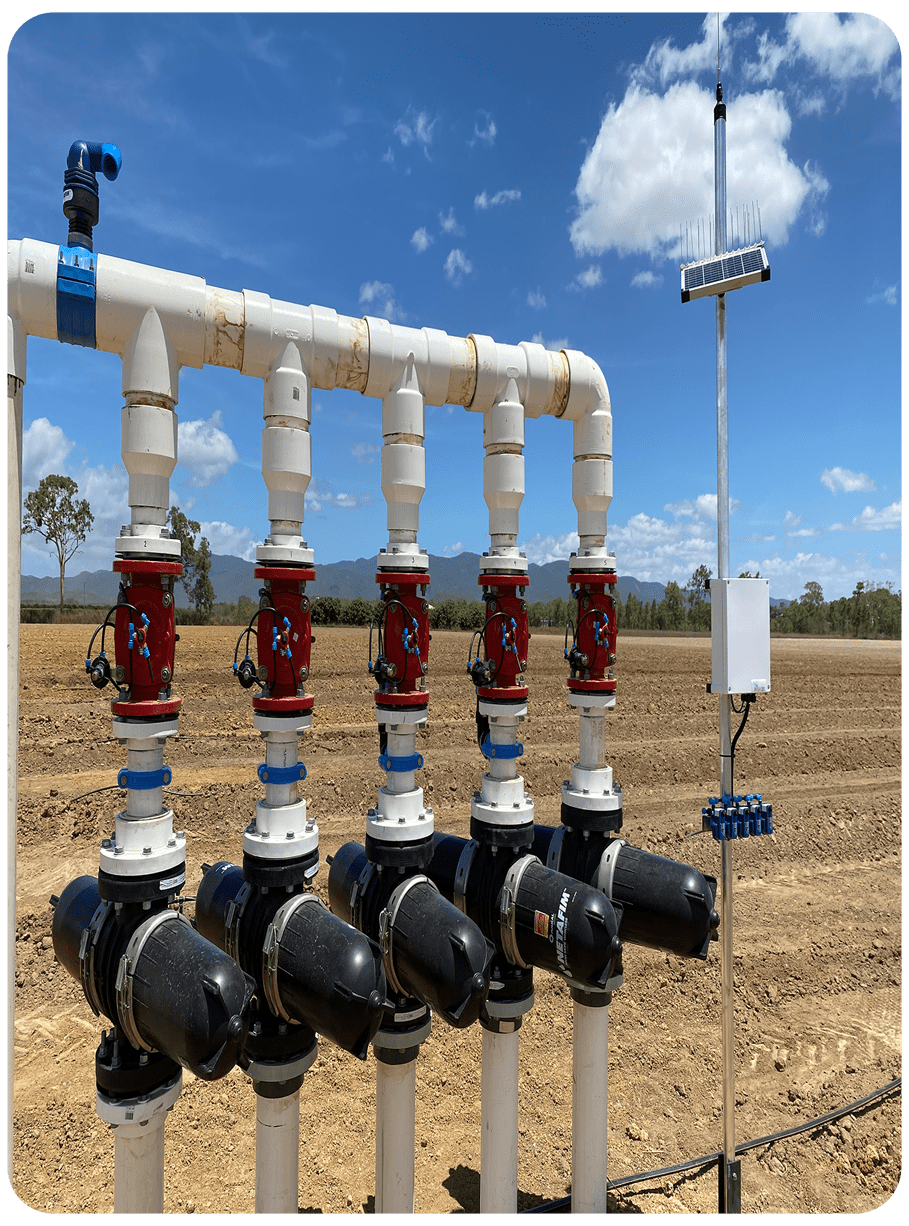
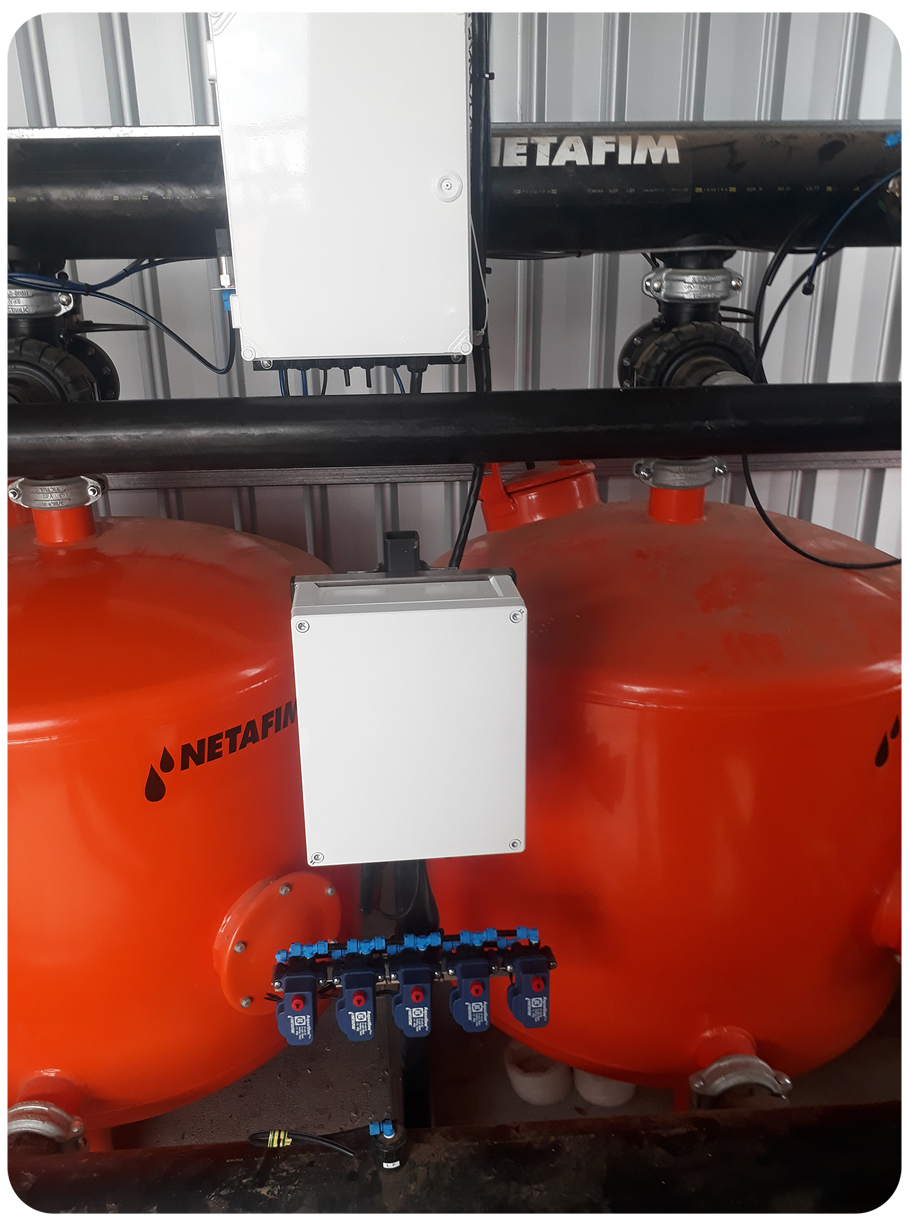
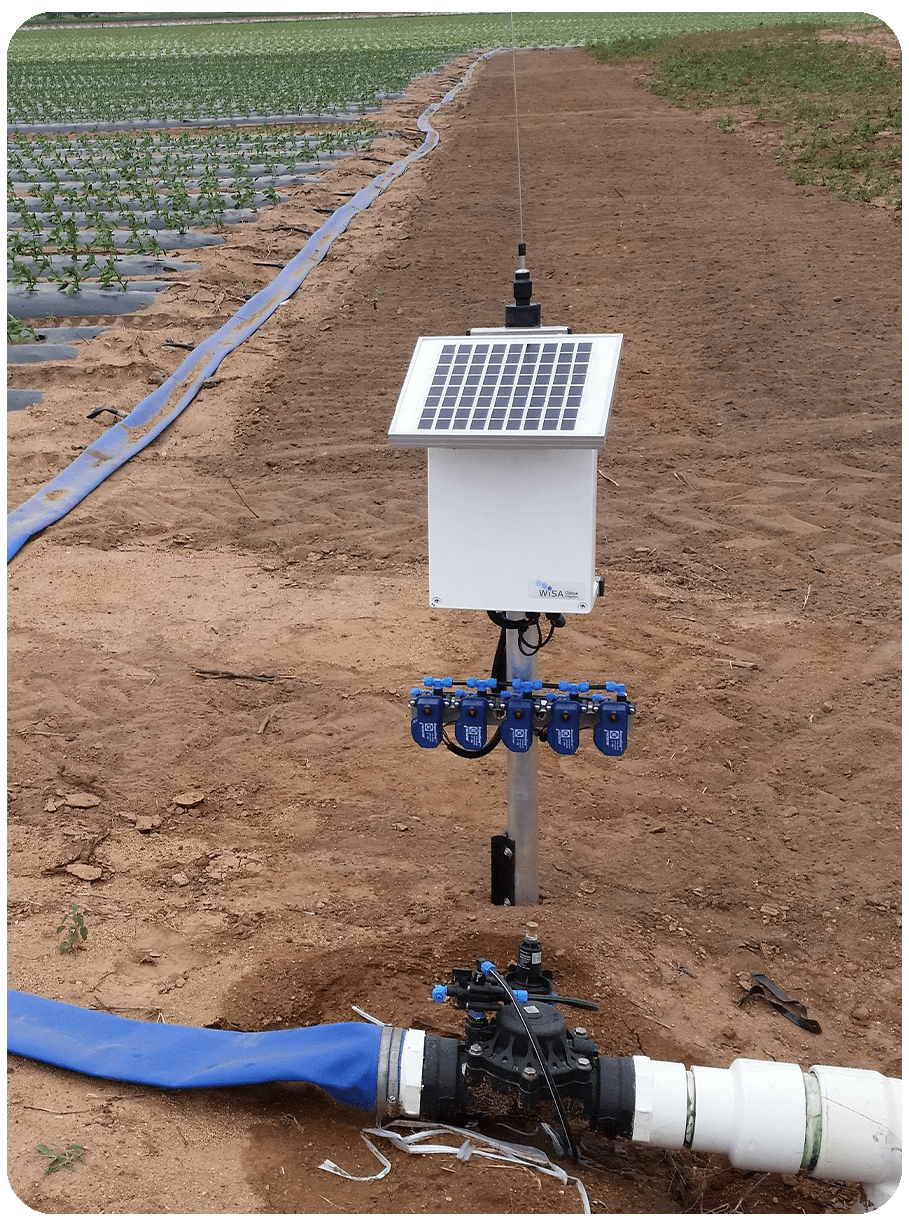
Irrigation Valve
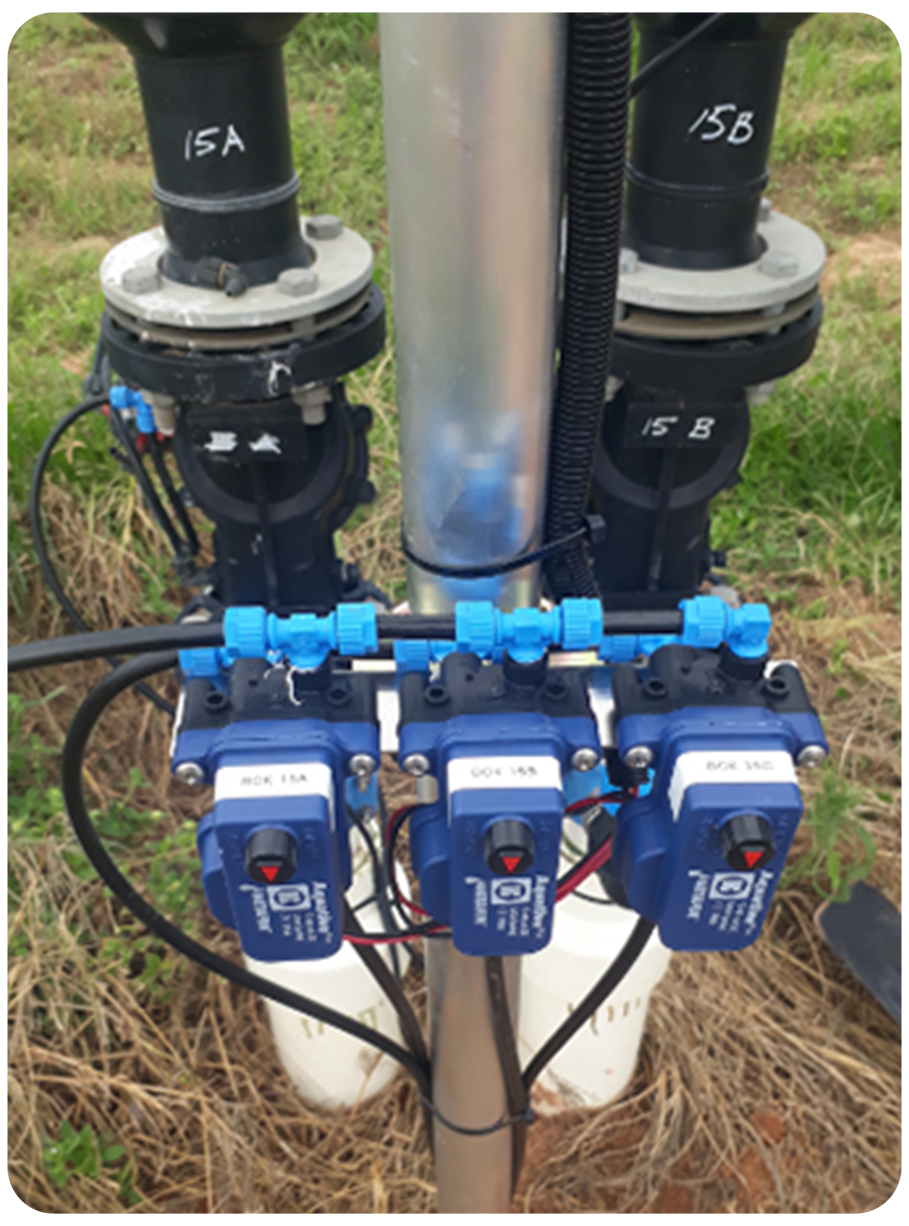
Solenoid Valves
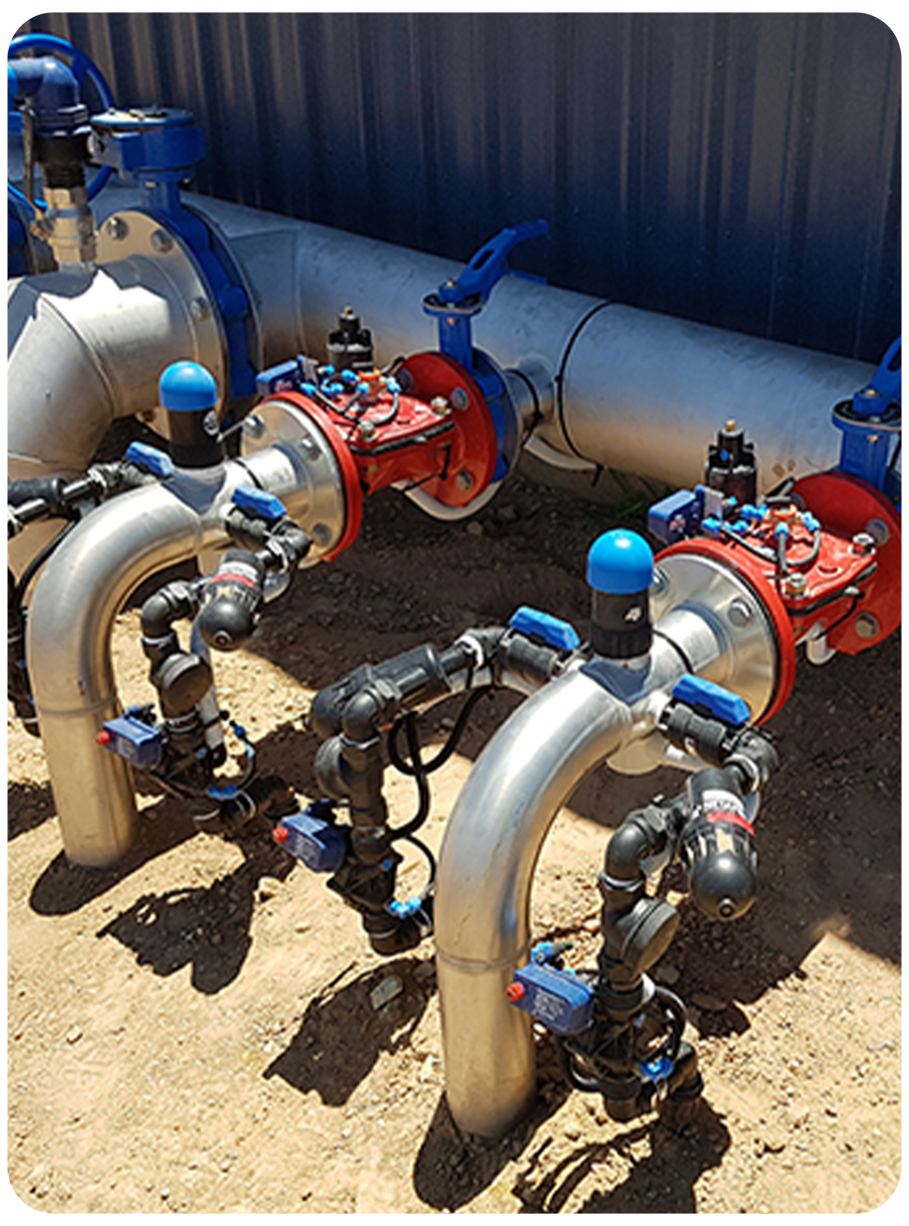
Valve Arrangemnet 2
Valve Control
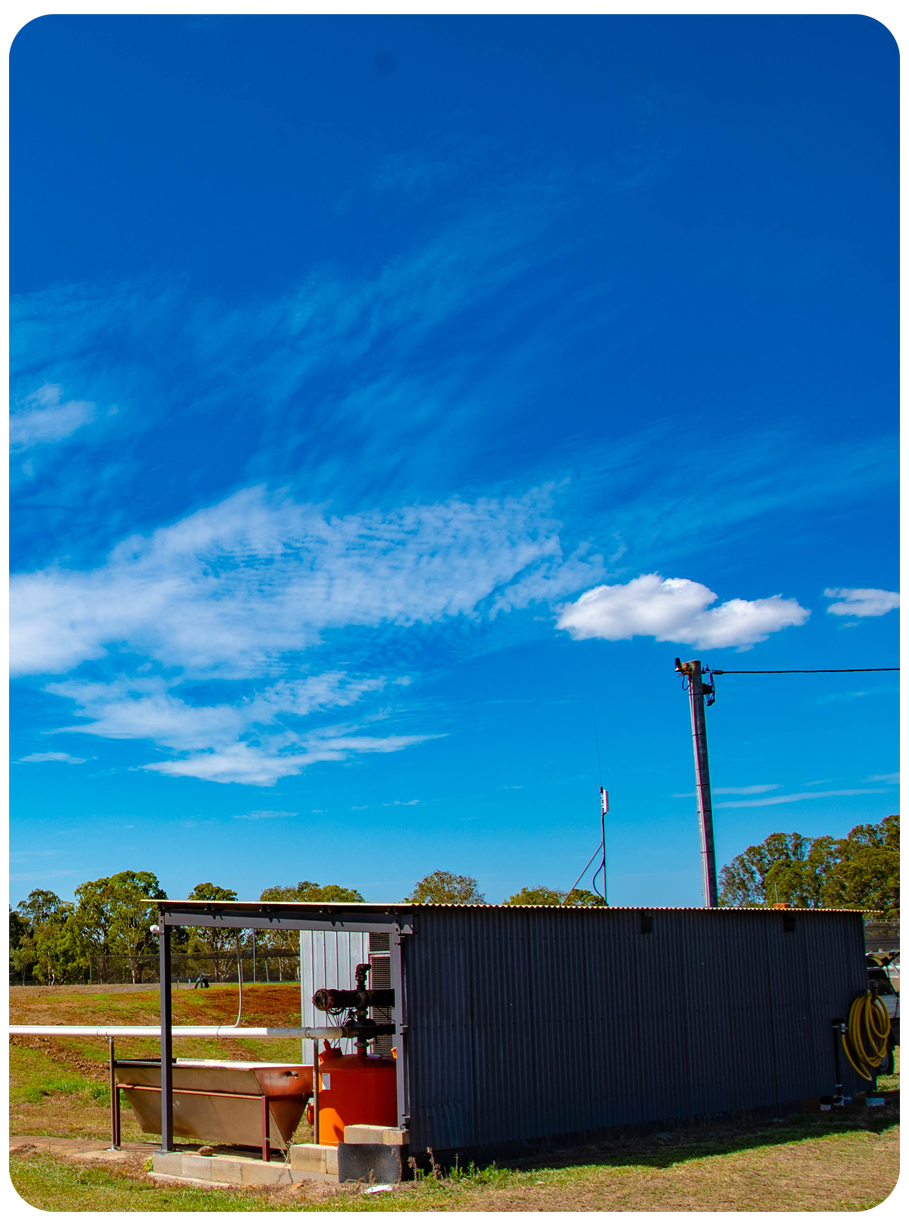
Irrigation Piping
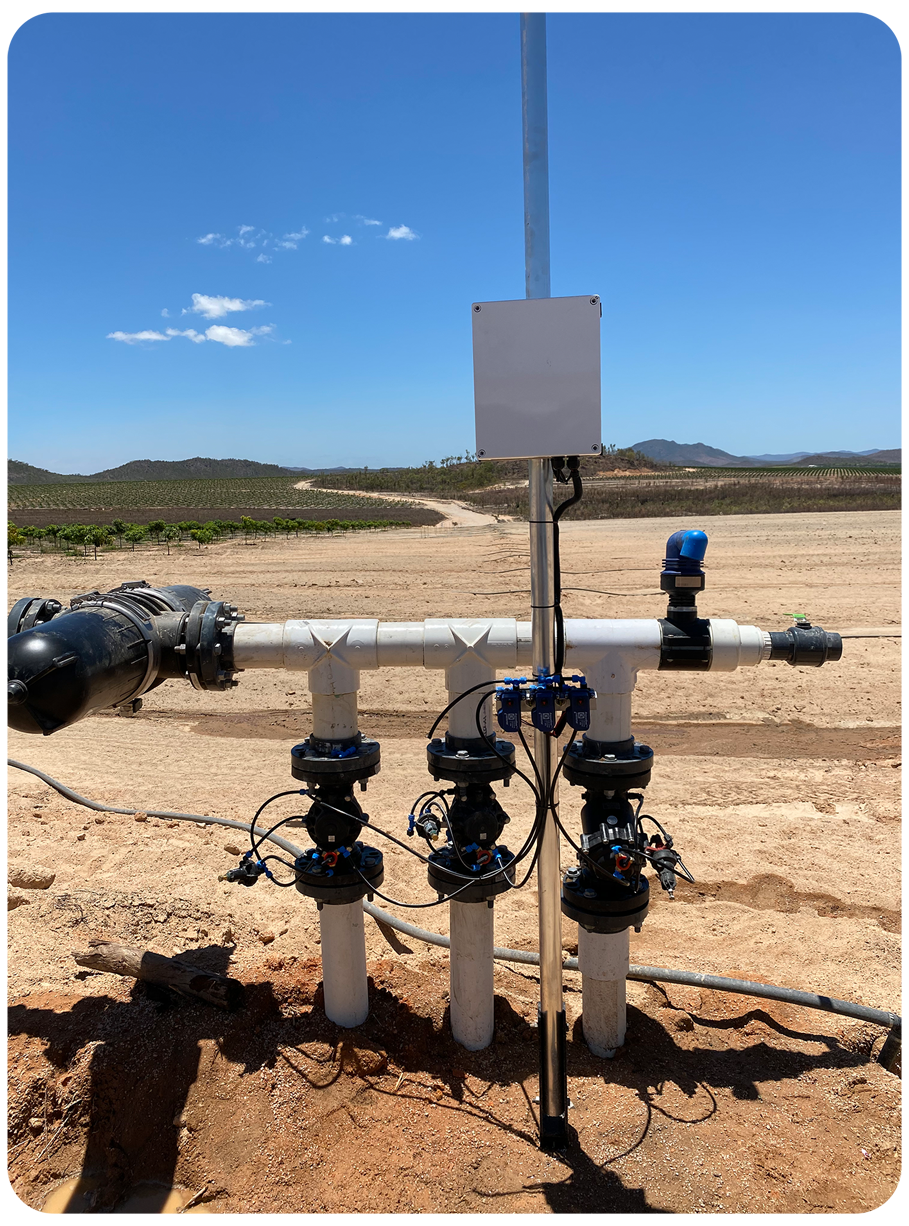
Valve Control 2
Valve Control 3
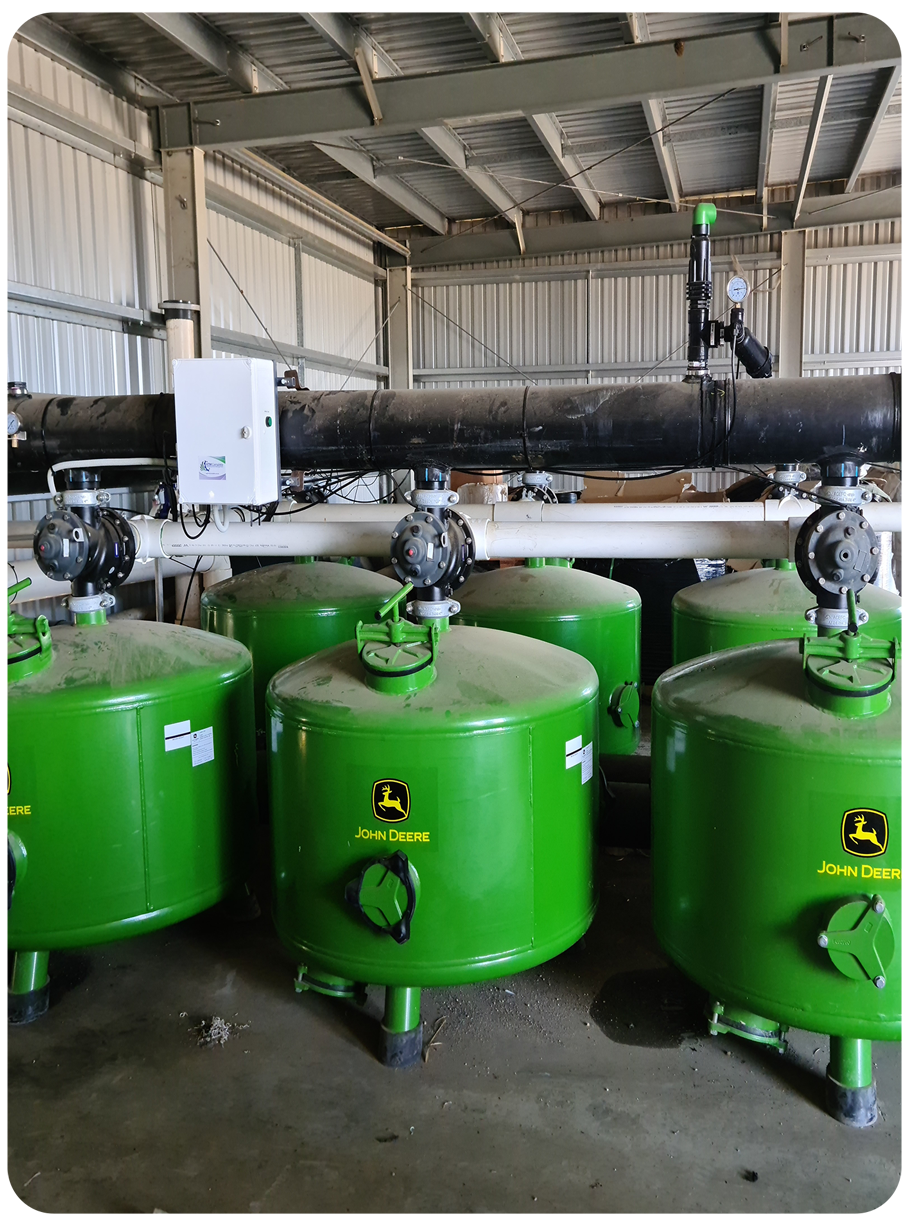
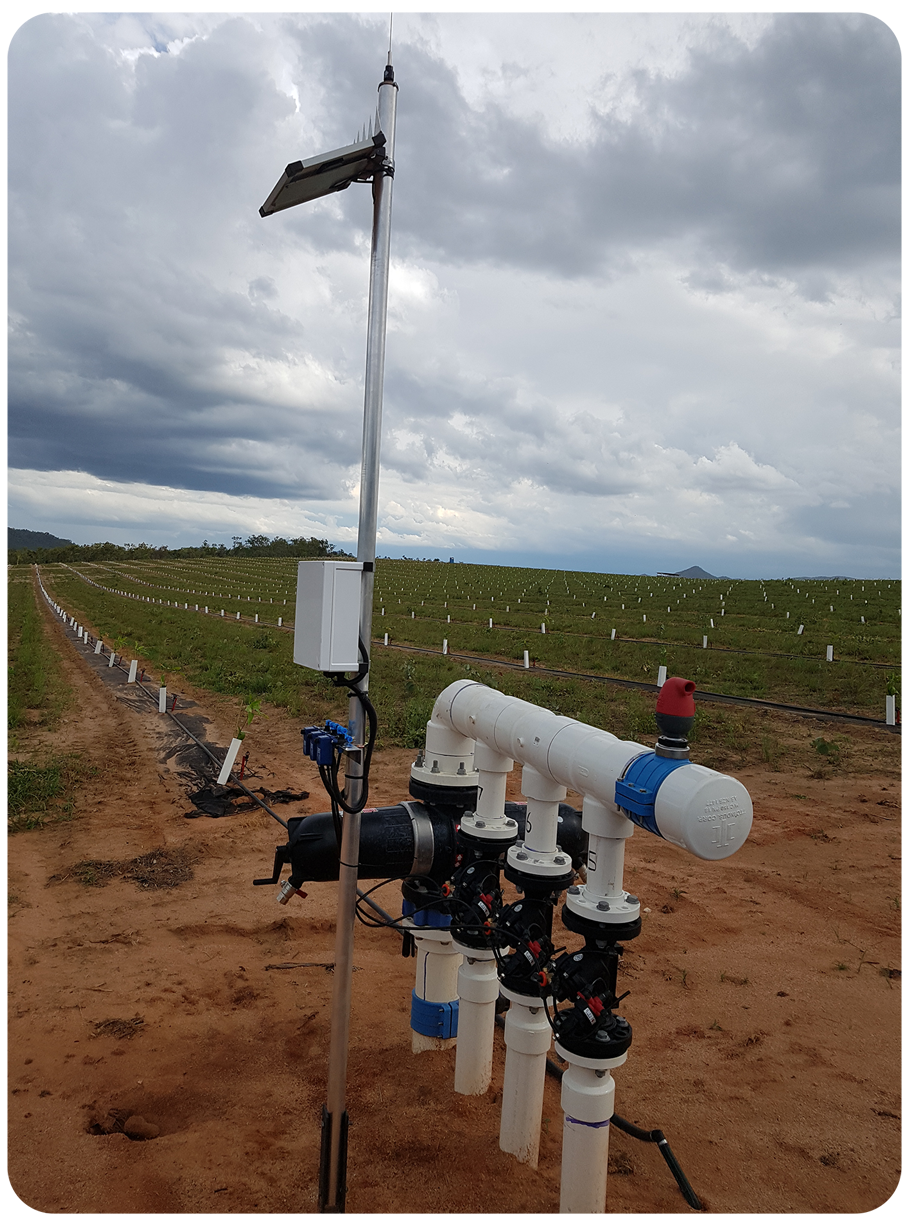
Filter Control
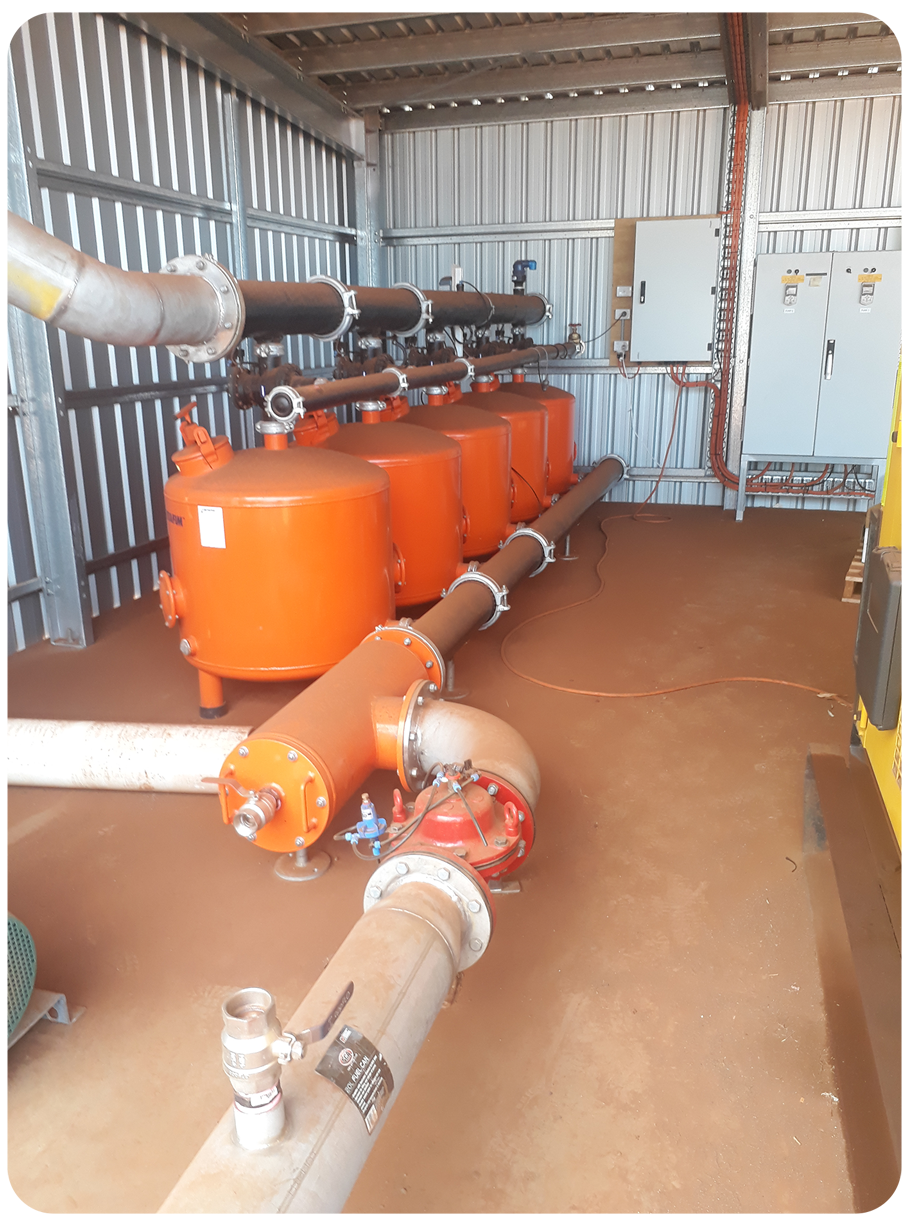
Filter Setup
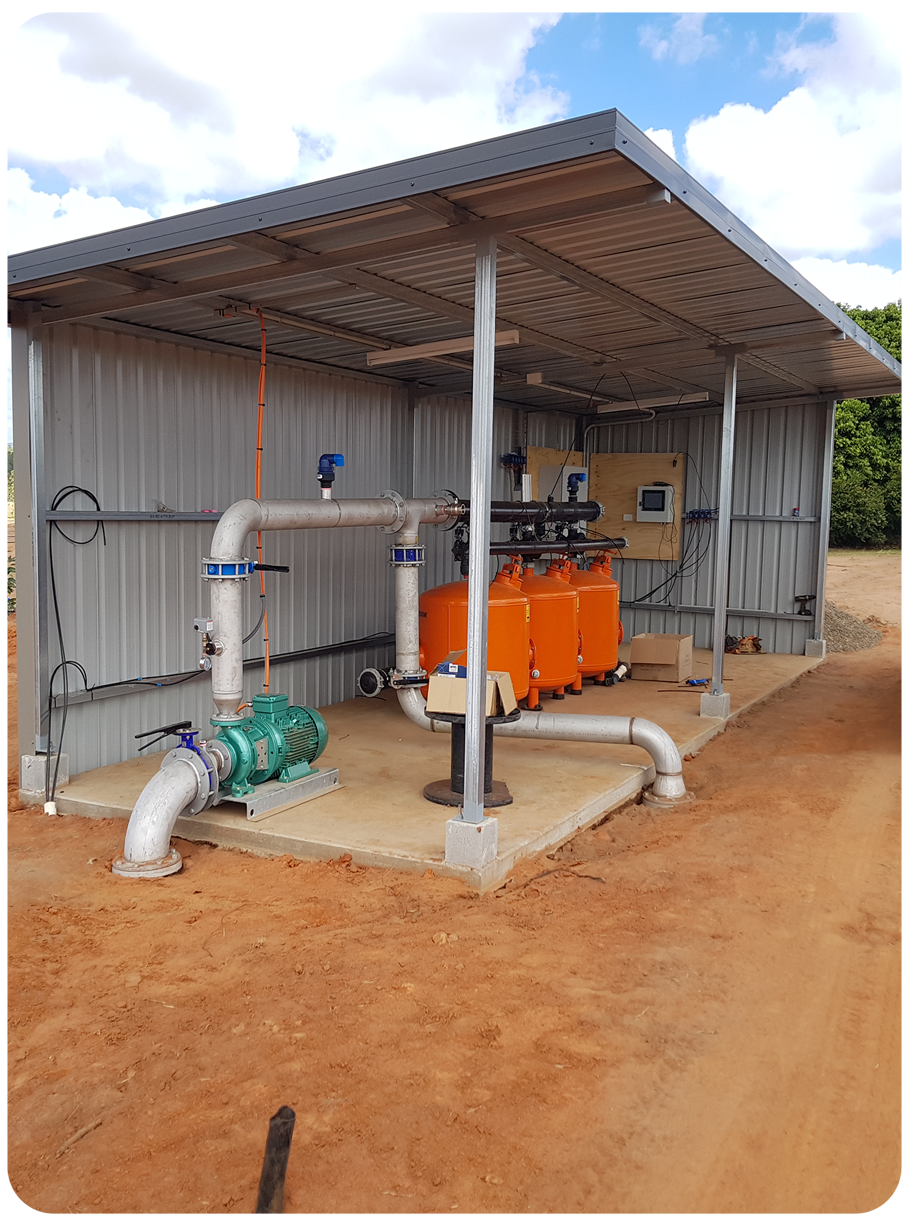
Filter Setup 2
Filter Control 2
Filter Control 3
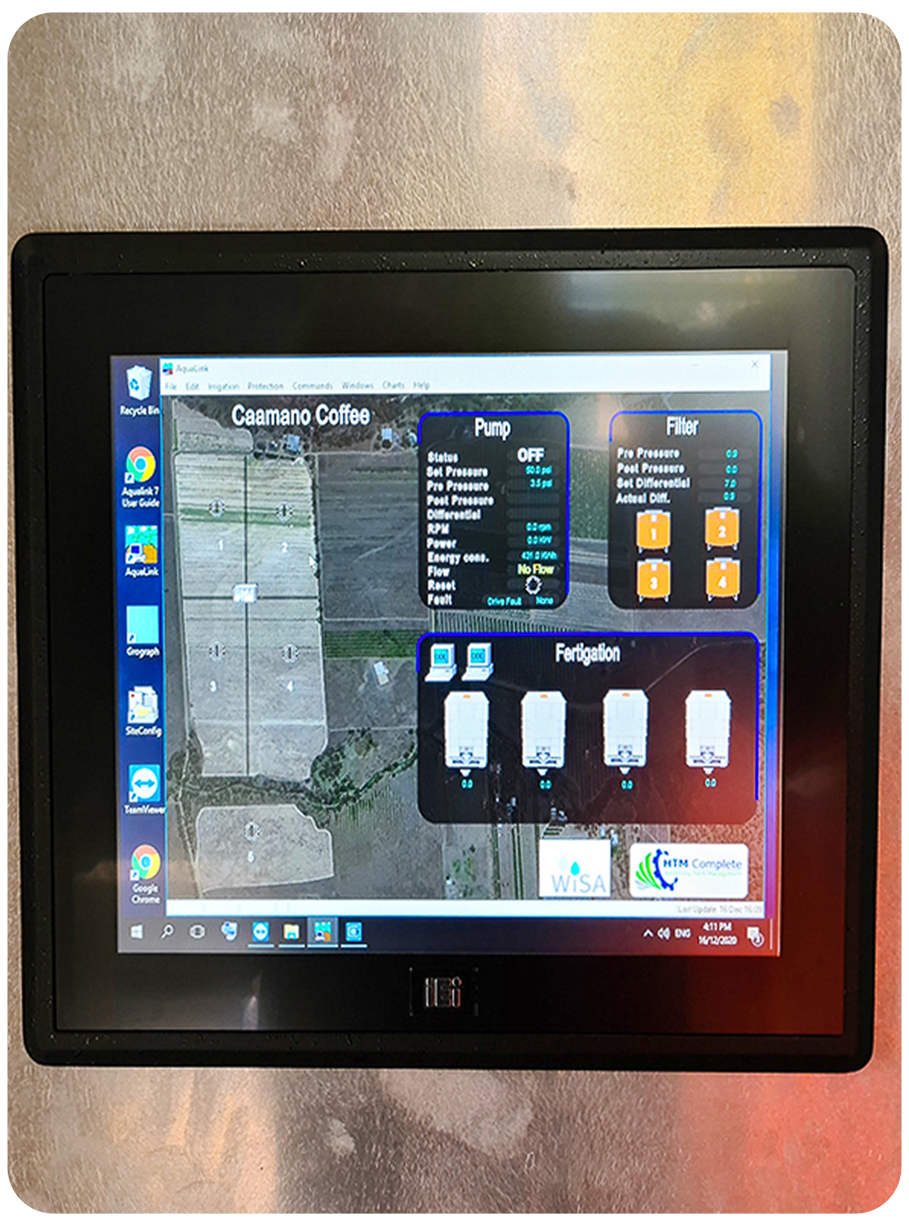
Fertigation Control

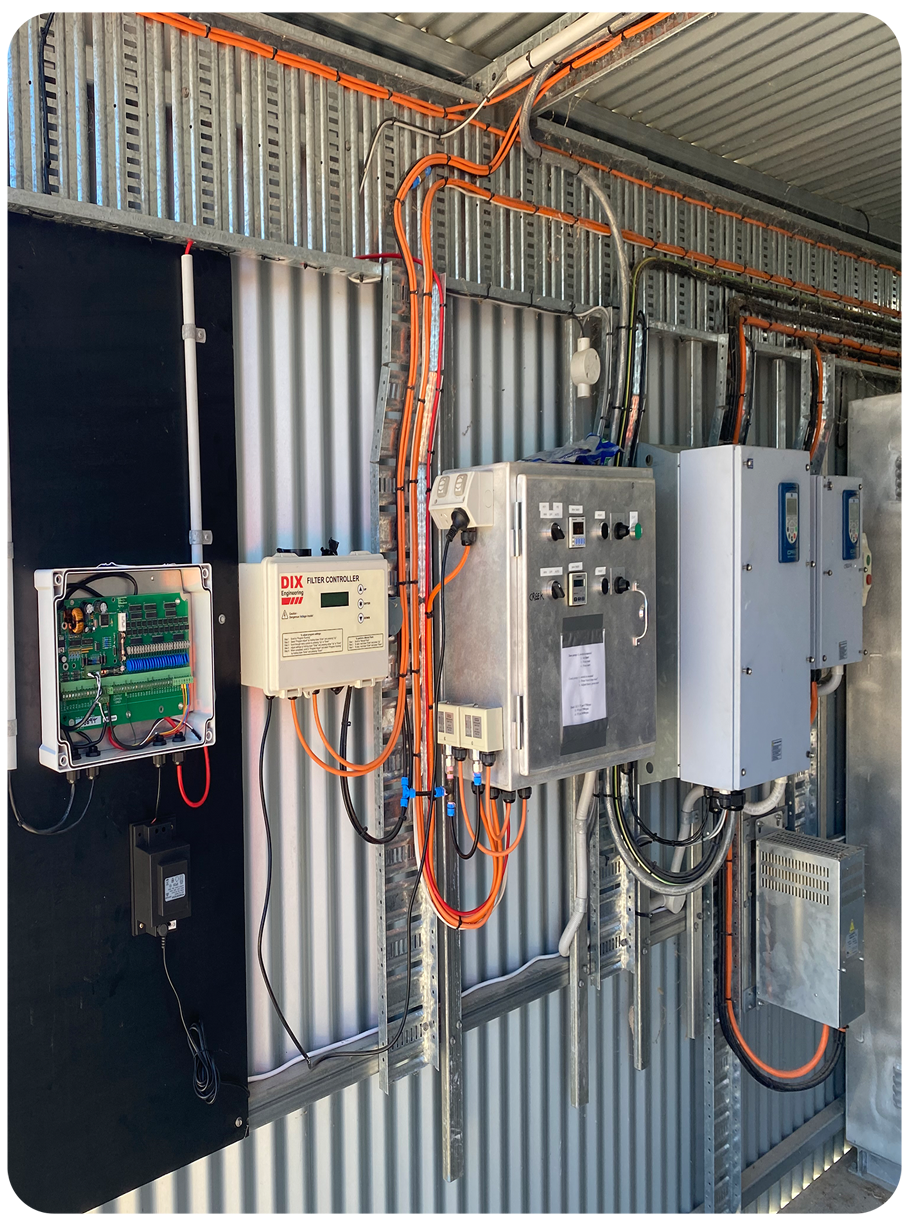
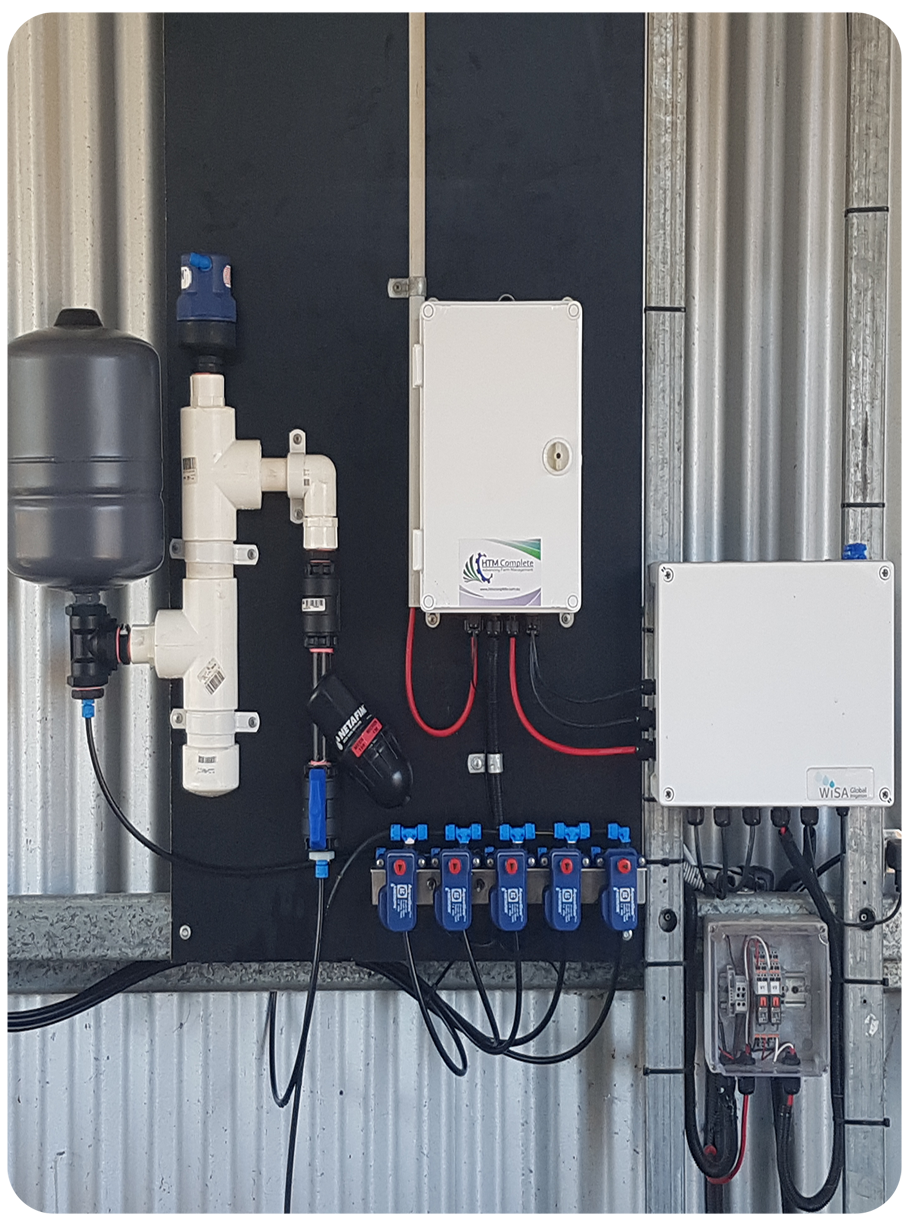
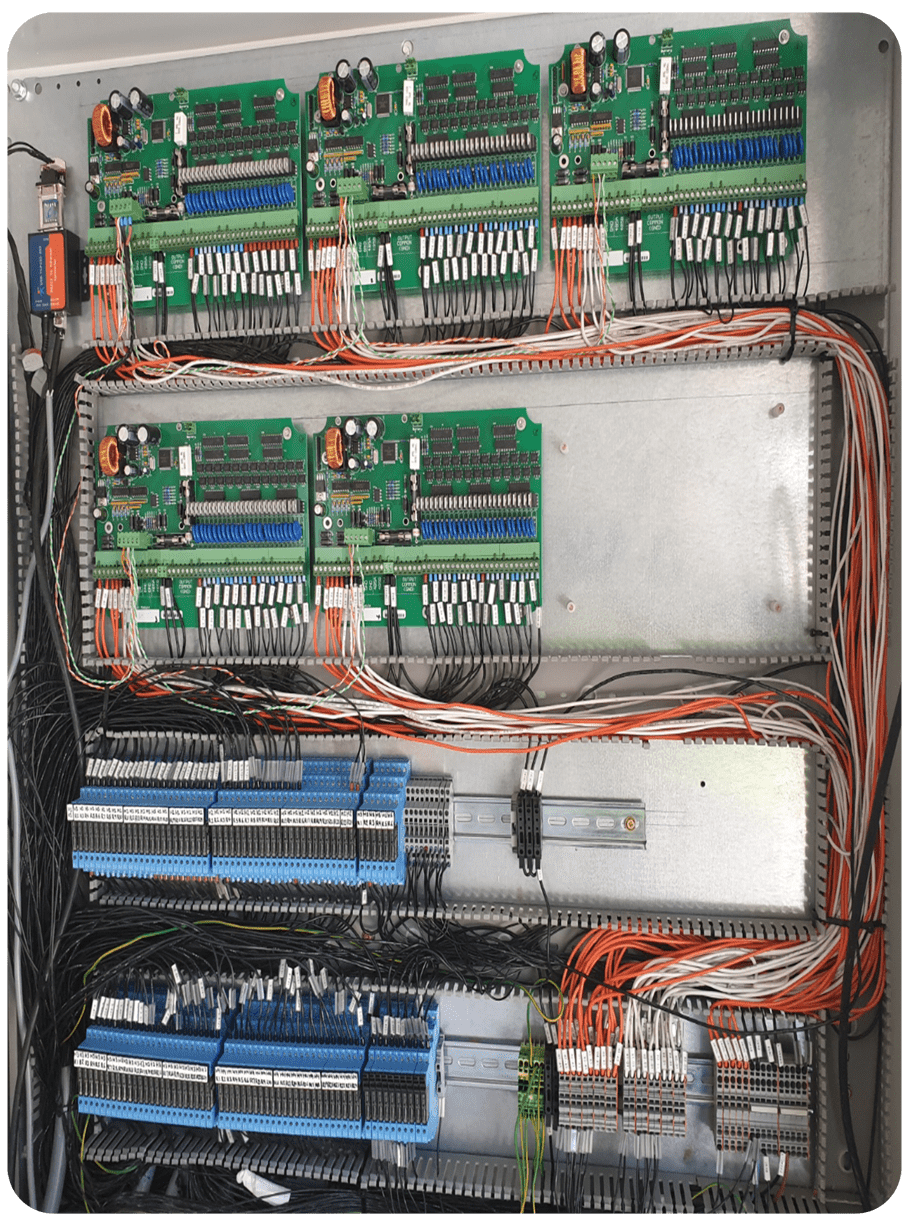
Fertigation Control Panel
Control No Touch Screen
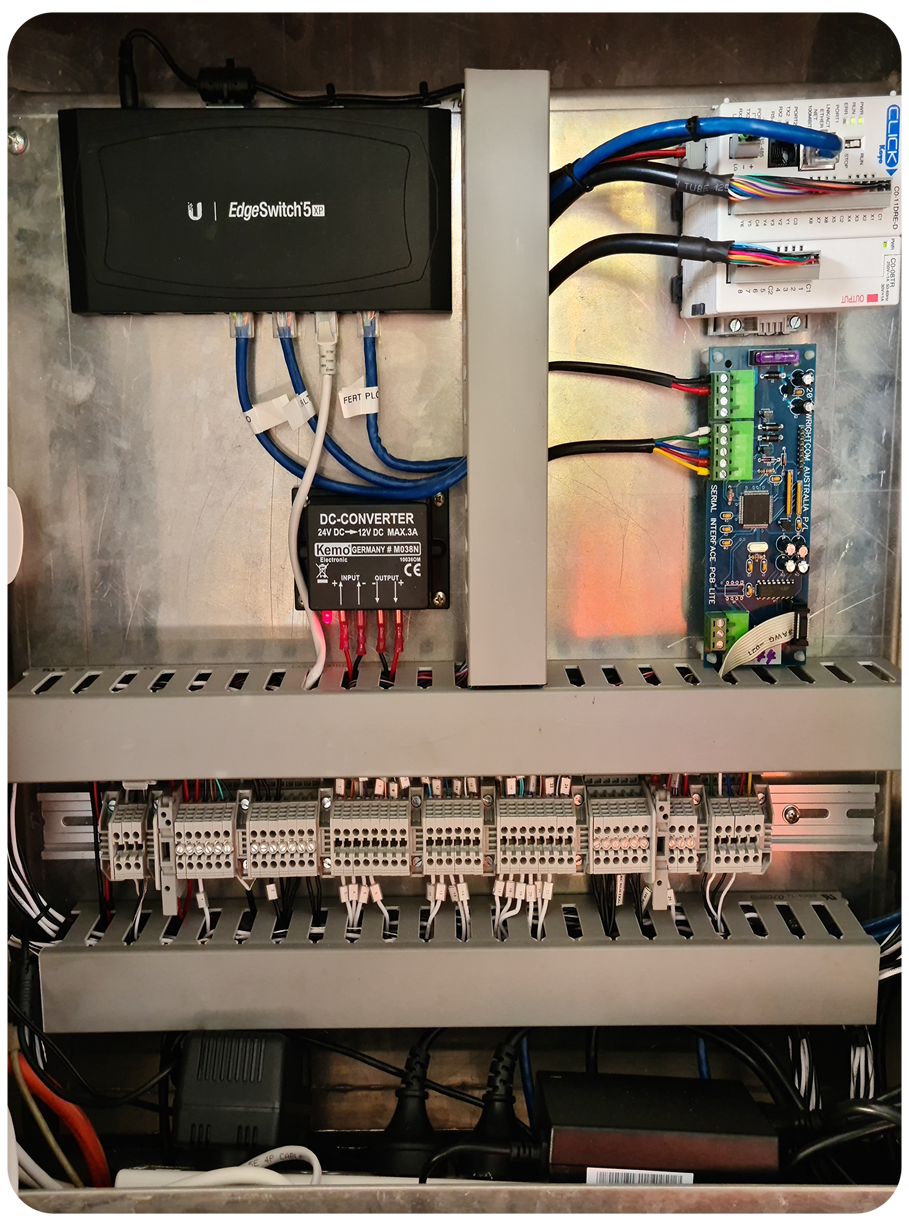
PLC Control
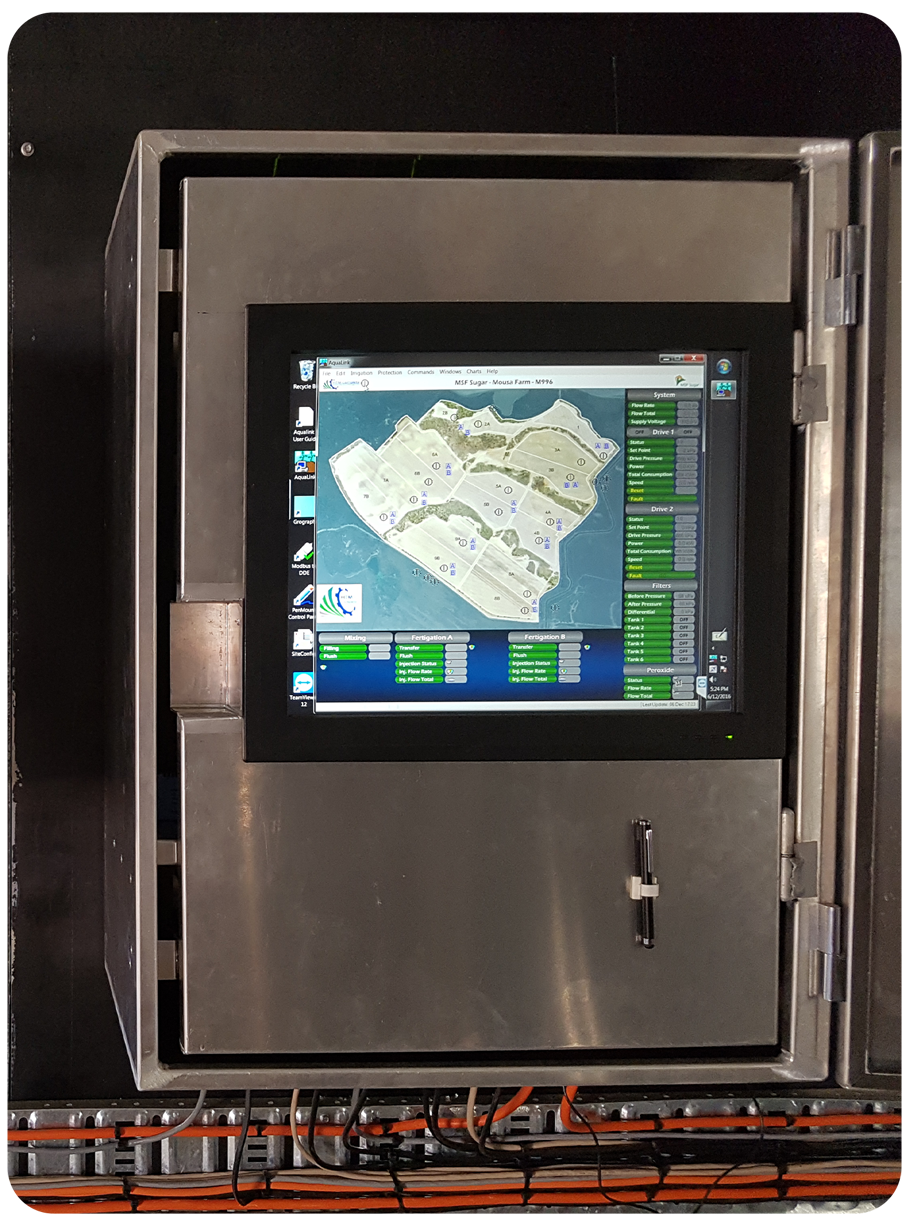
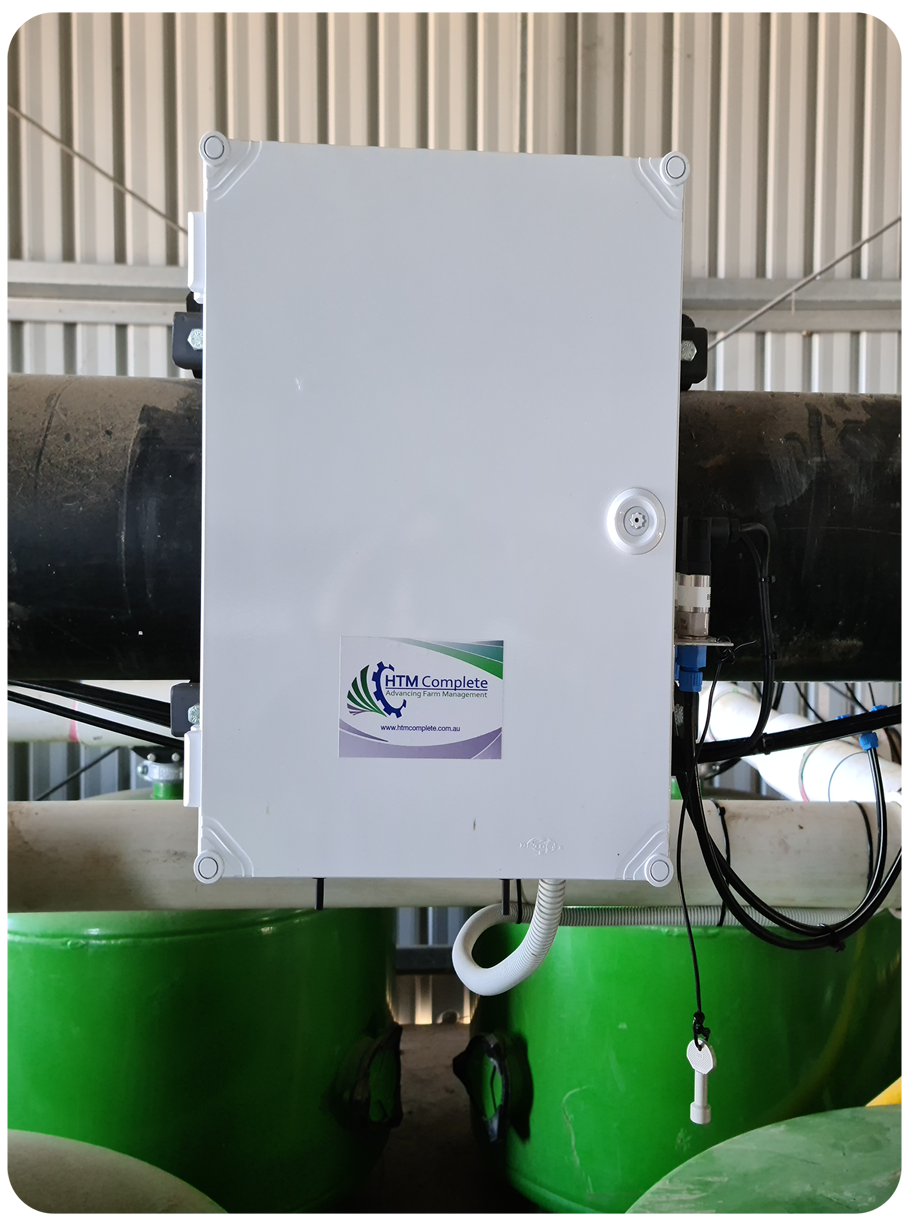
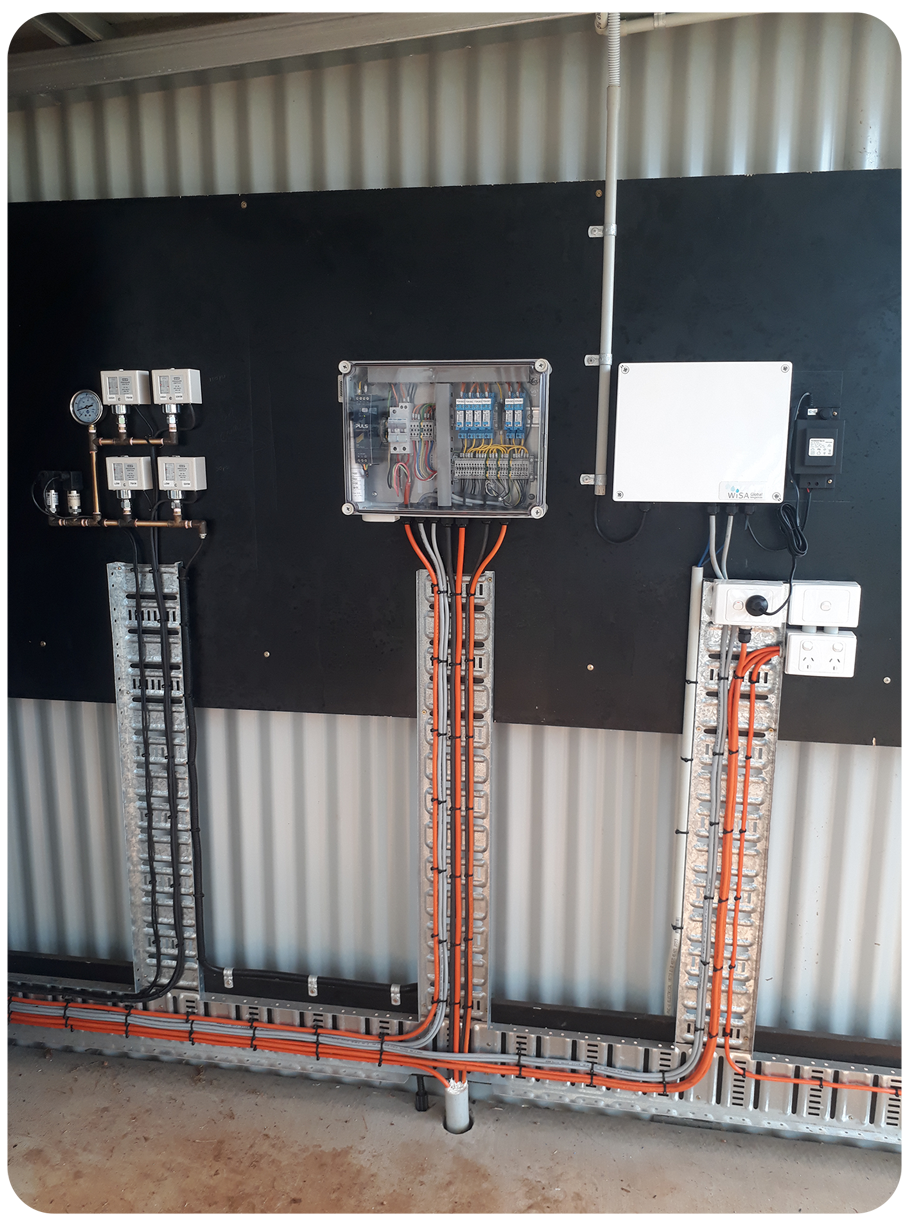
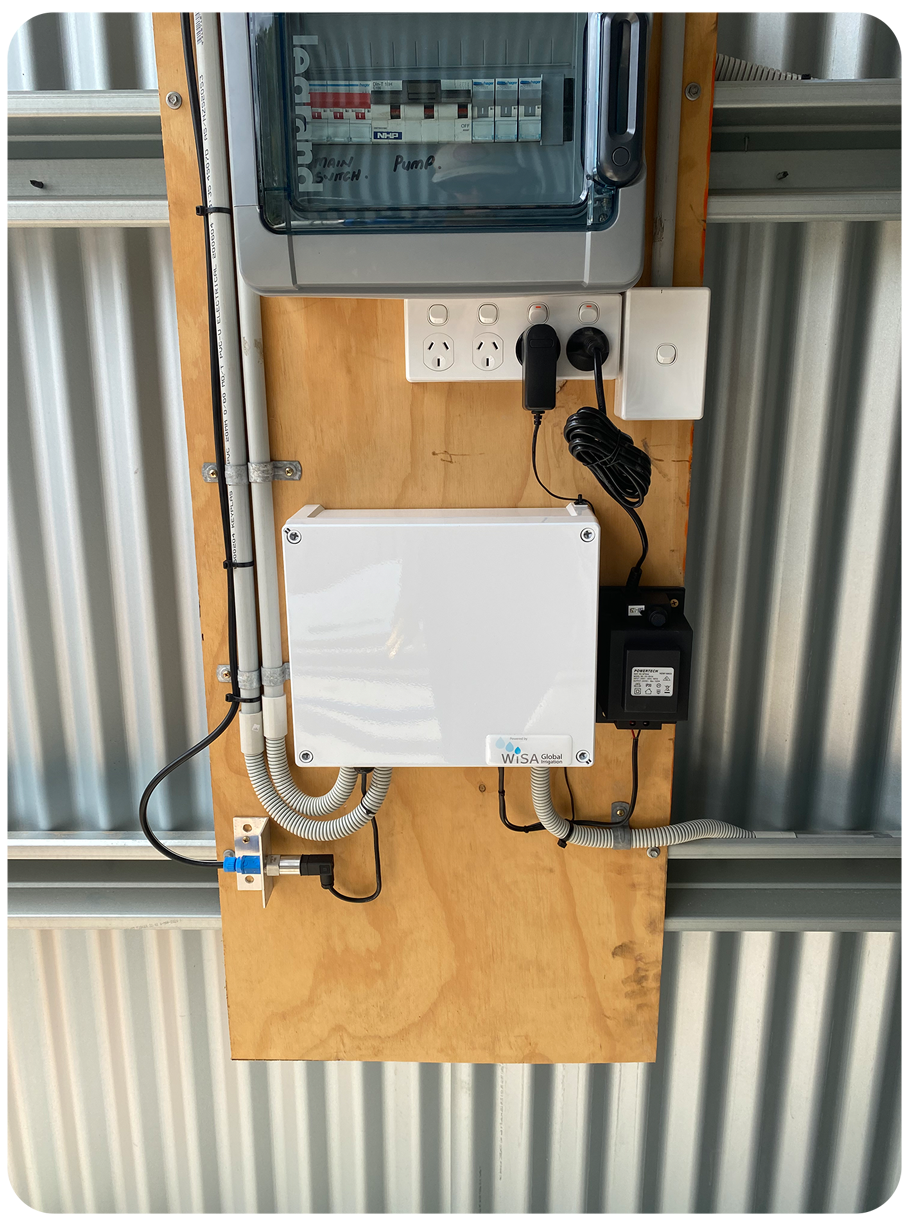
Control Cabinet
DPI Test
EC Monitoring
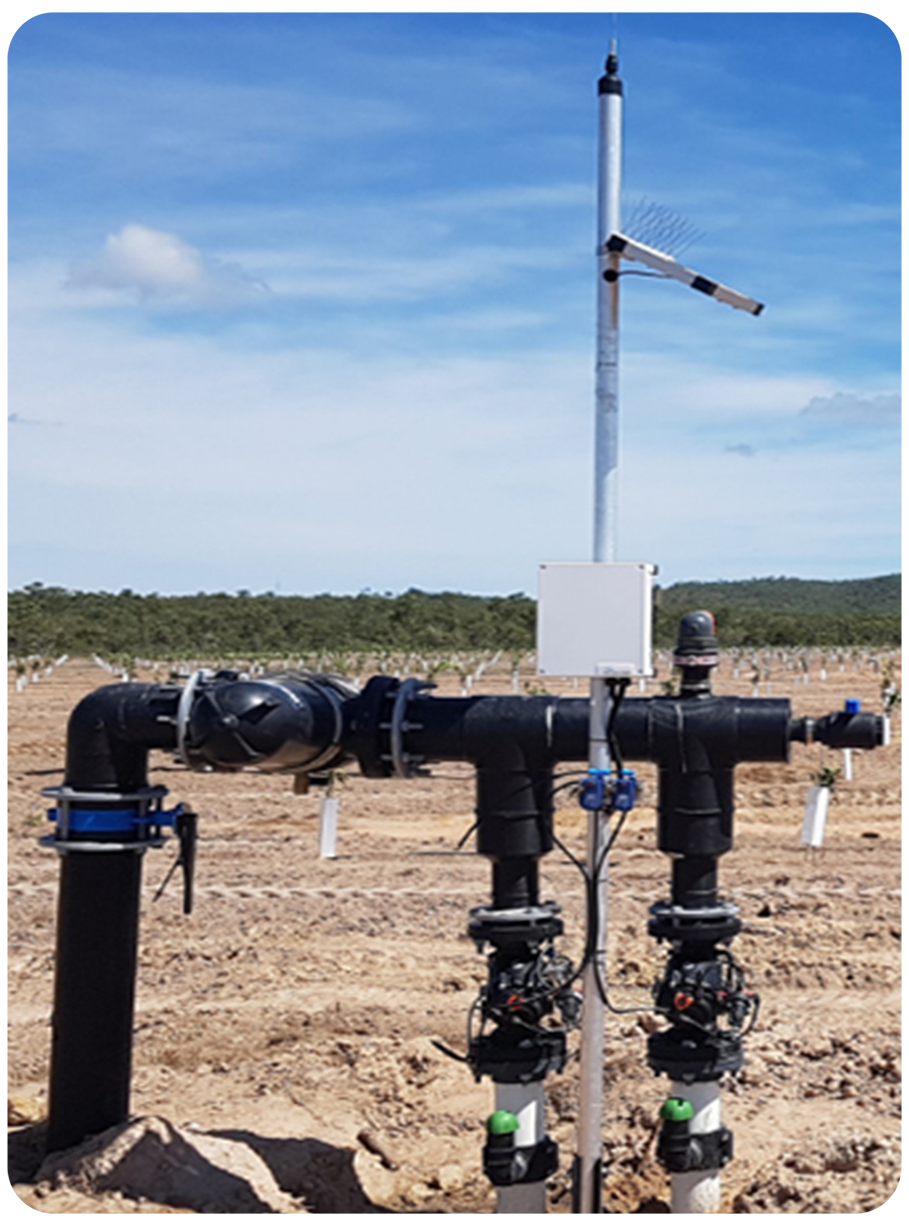
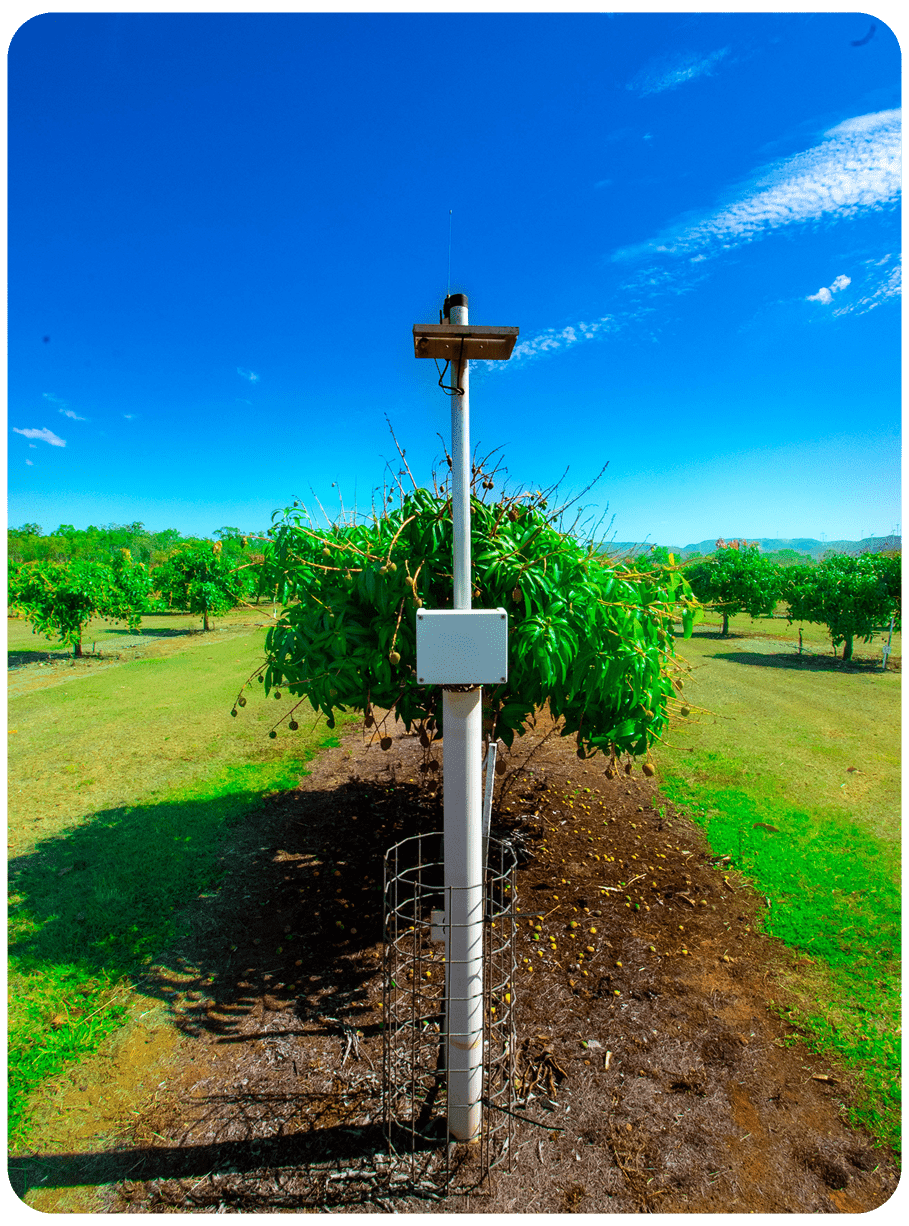
Field Weather Station
WiFi Repeater
DIP Test 2
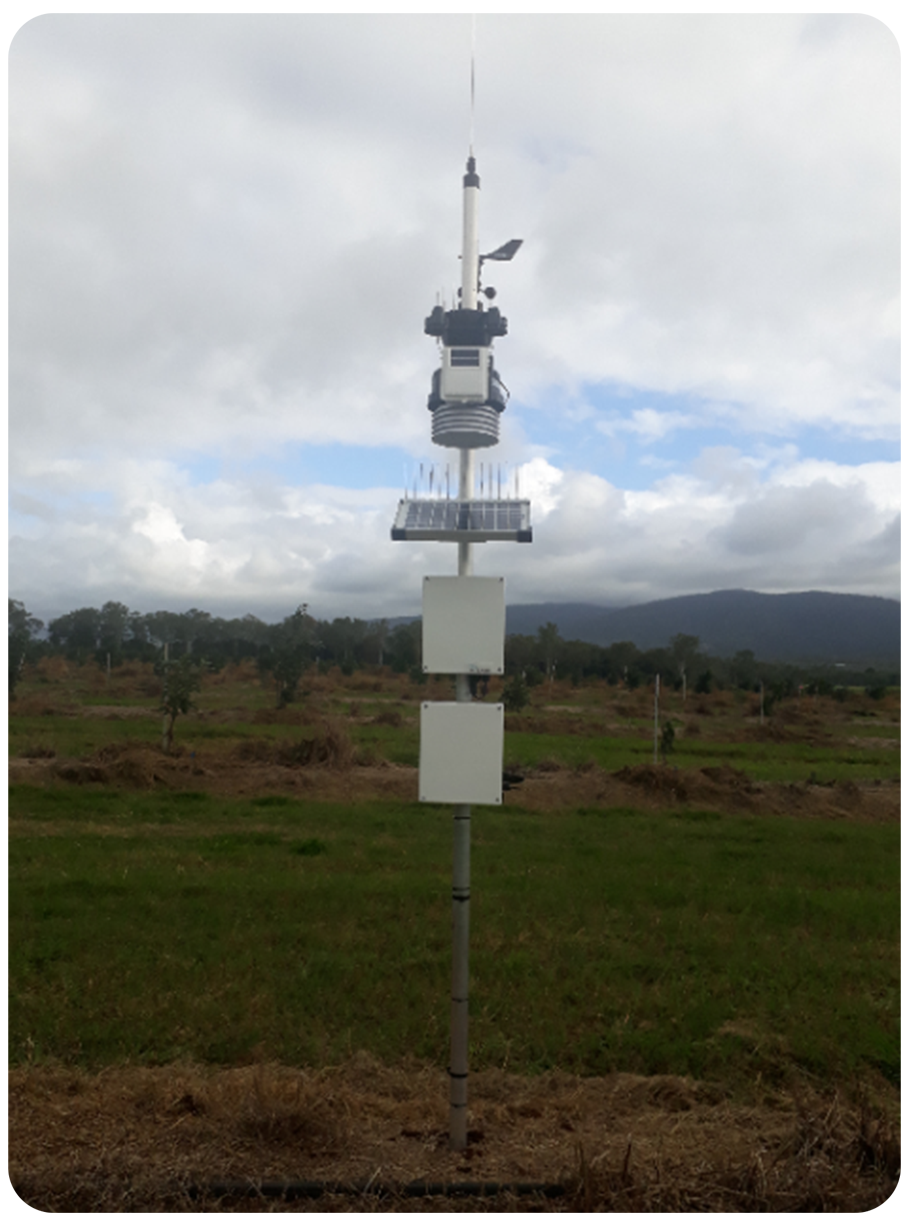
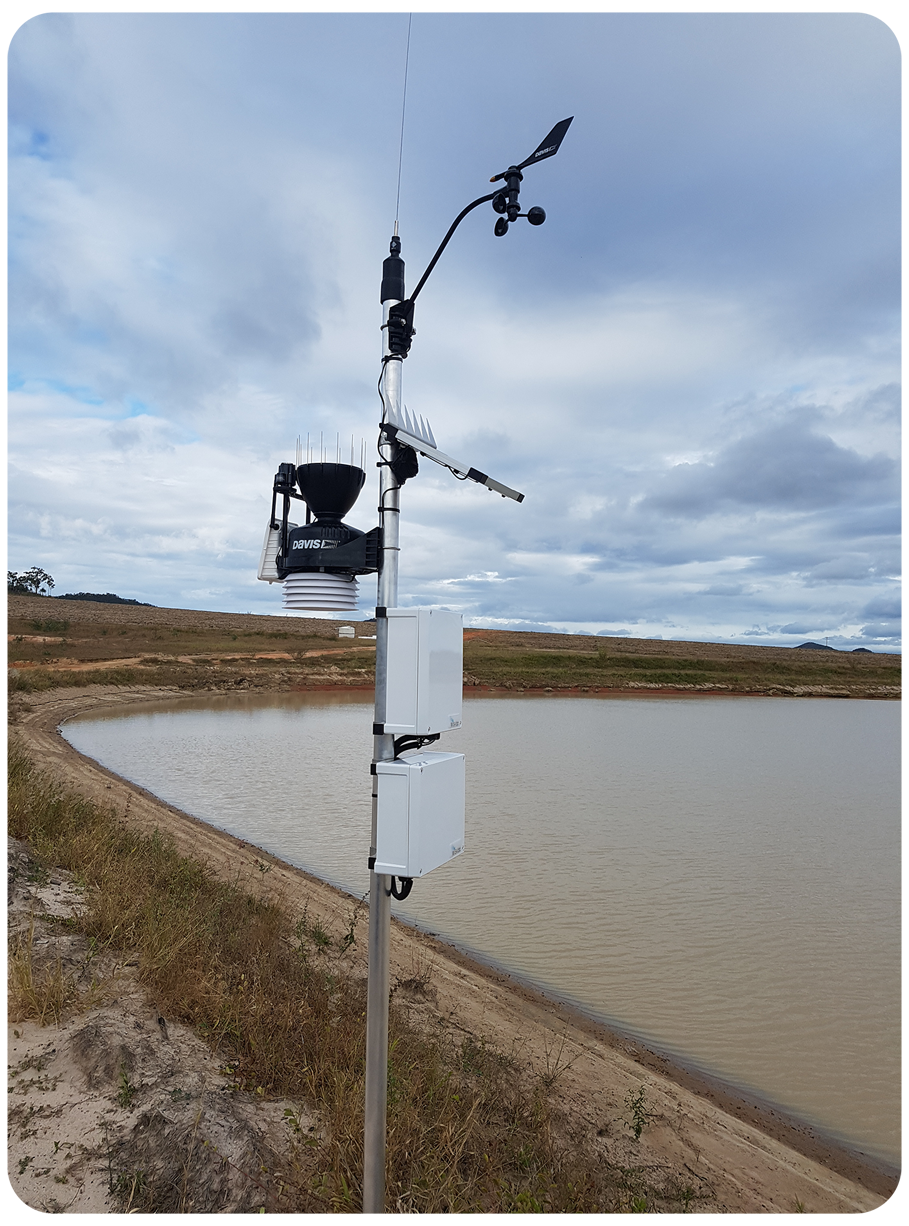
Davis Weather Station
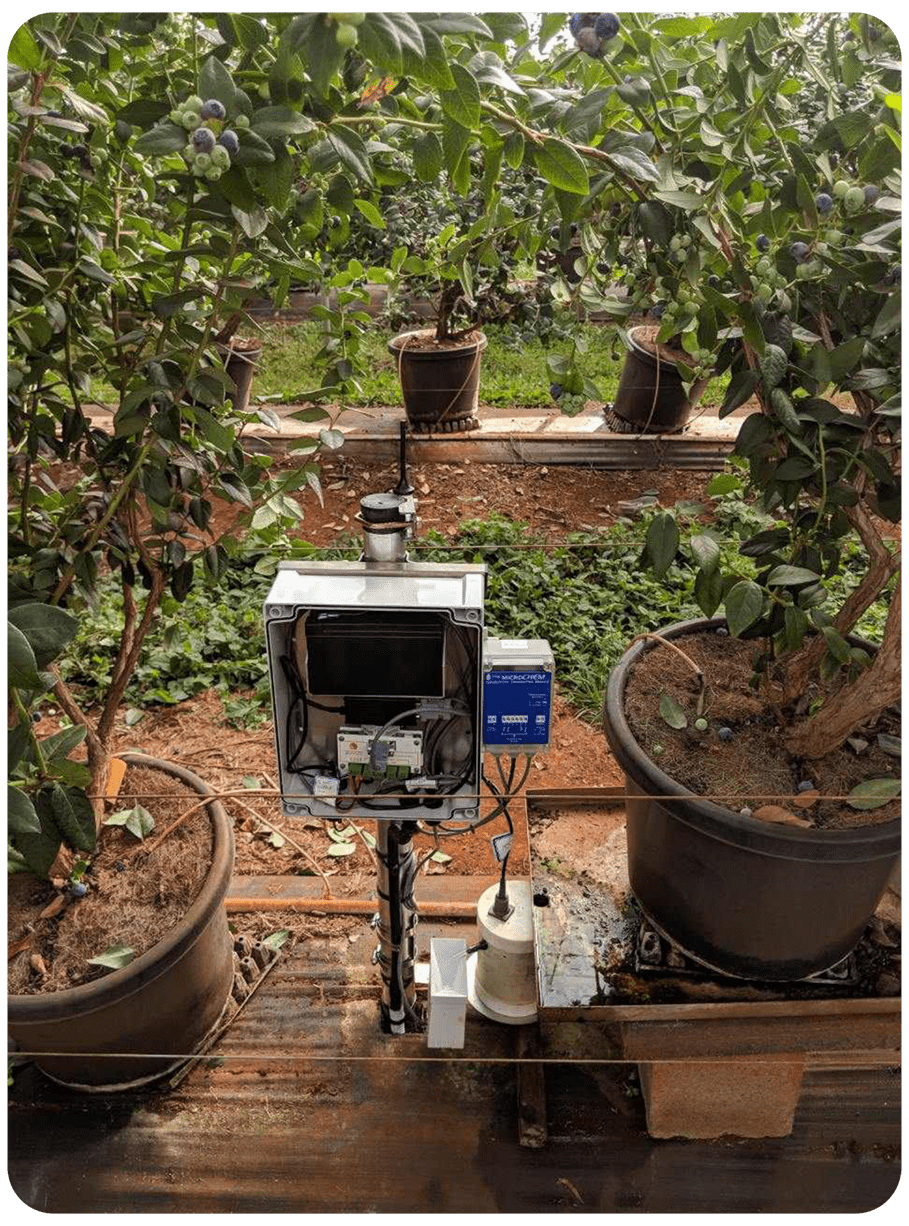
EC Monitoring 2
DPI Test 3
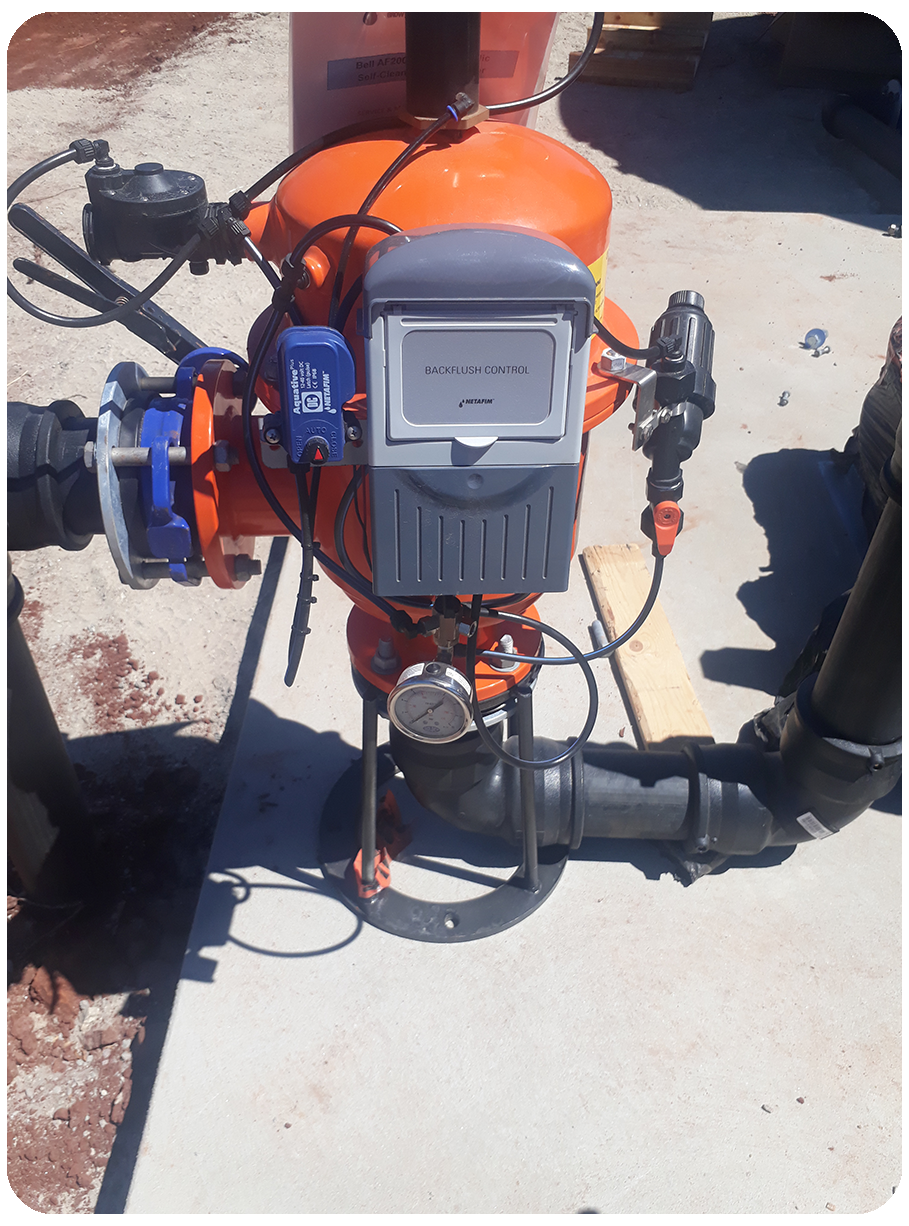
Backflush Control
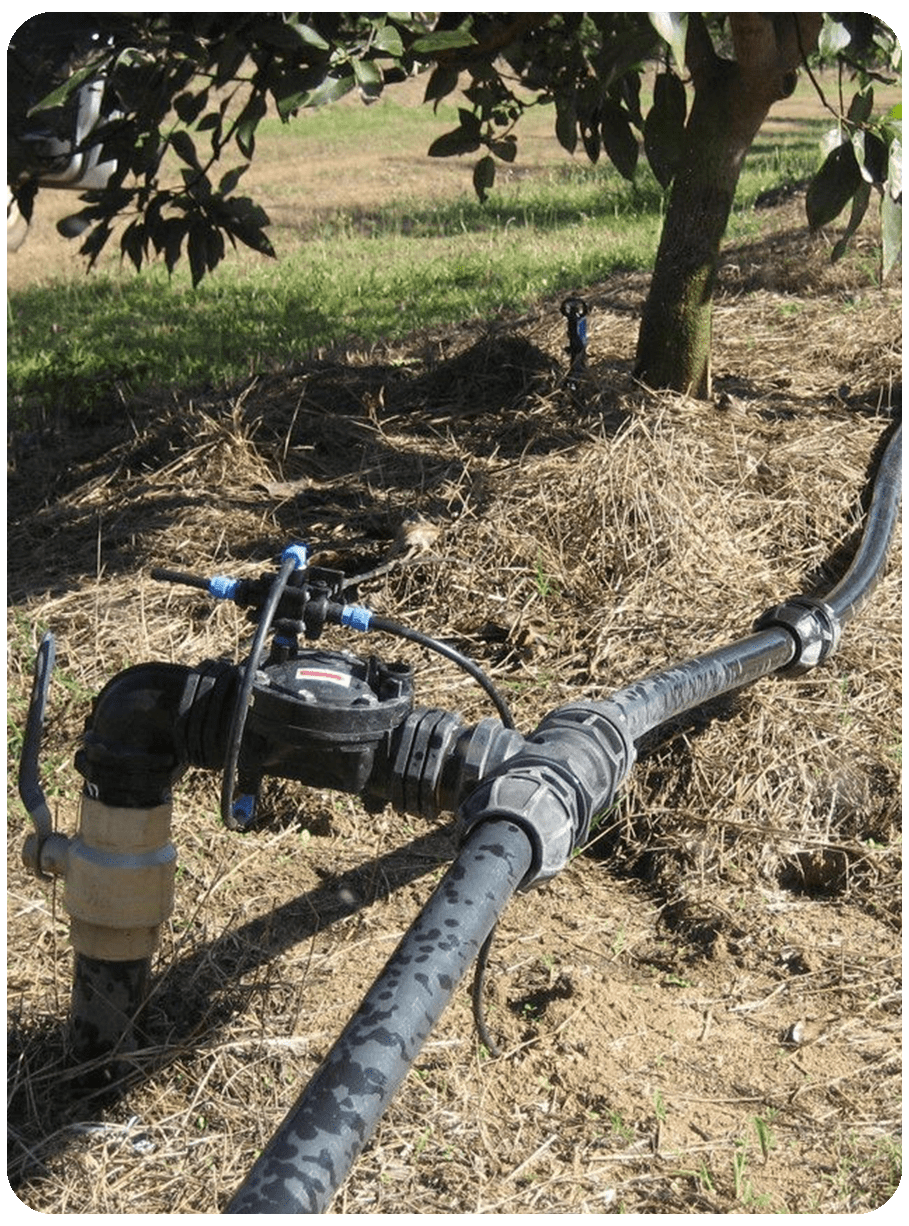
In Field Hydraulic Valve Solution
Leaf Wetness Sensor
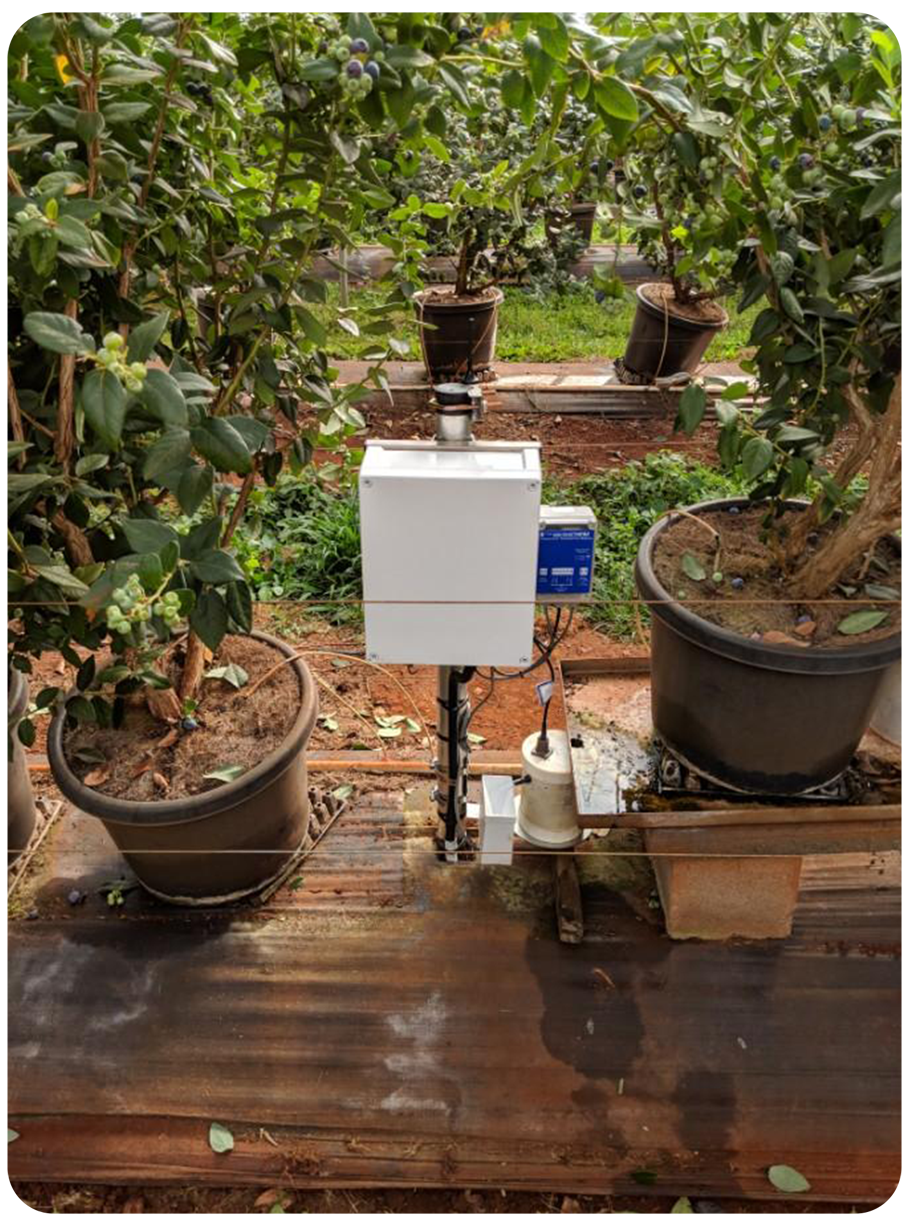
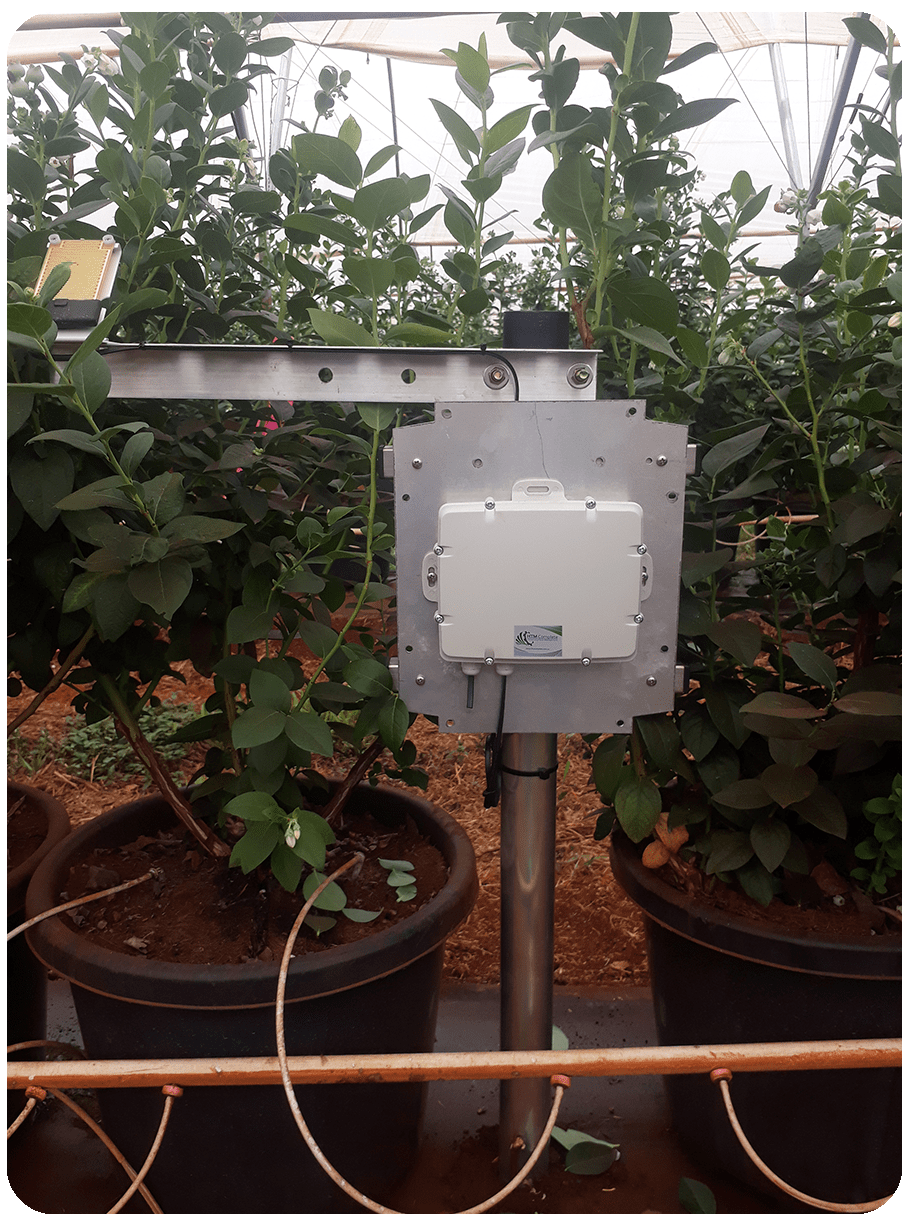
Field Unit Drip Site
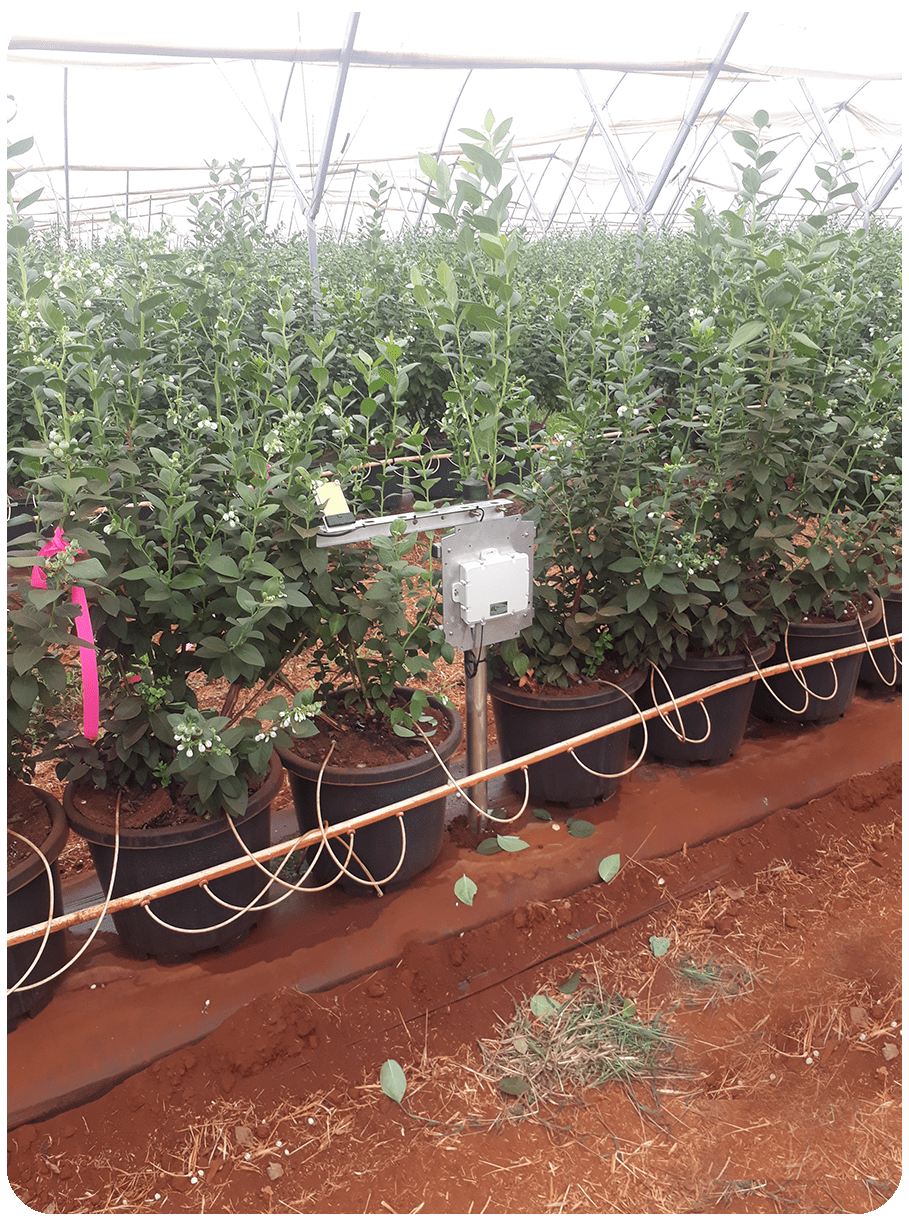
Leaf Wetness Sensor 2
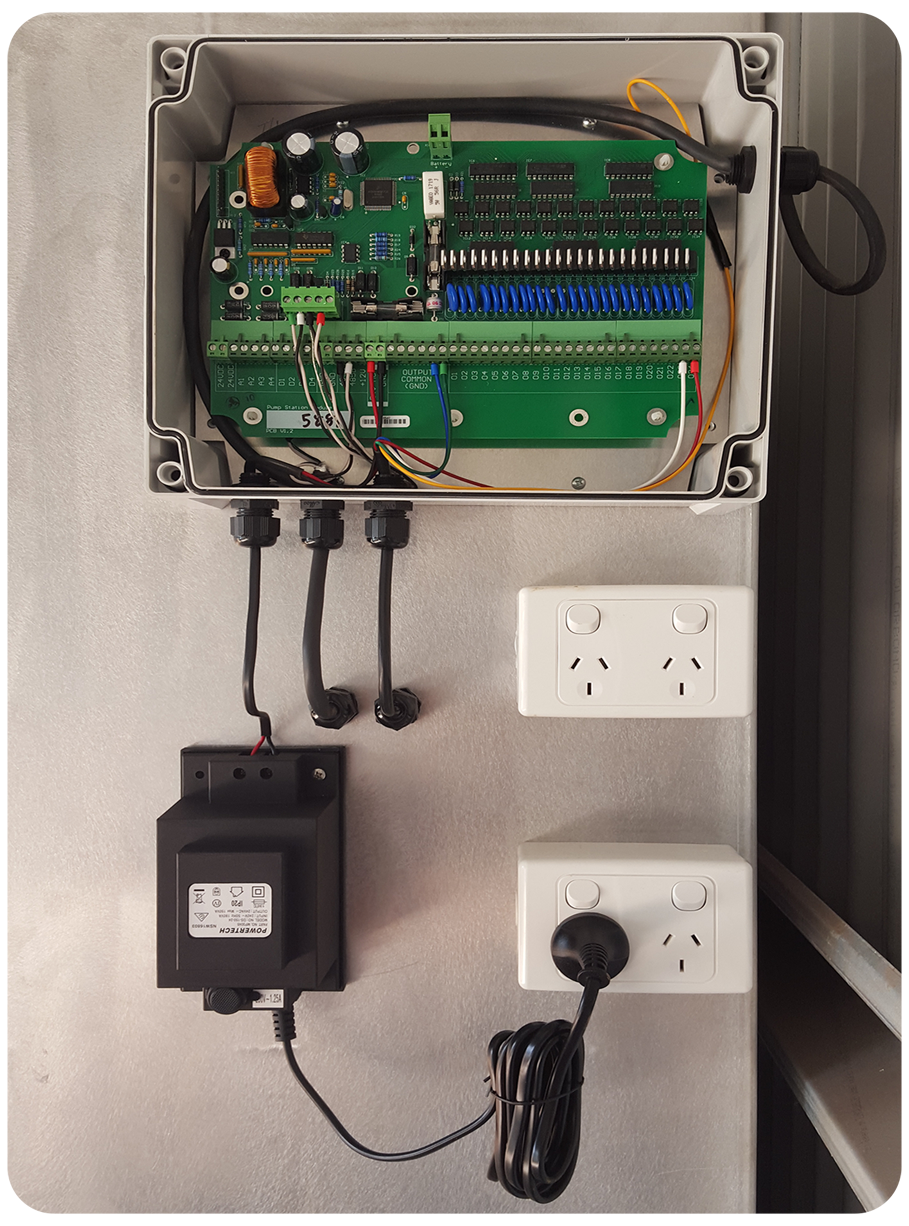
Multiple Pump Board Control

Pump Box Closed
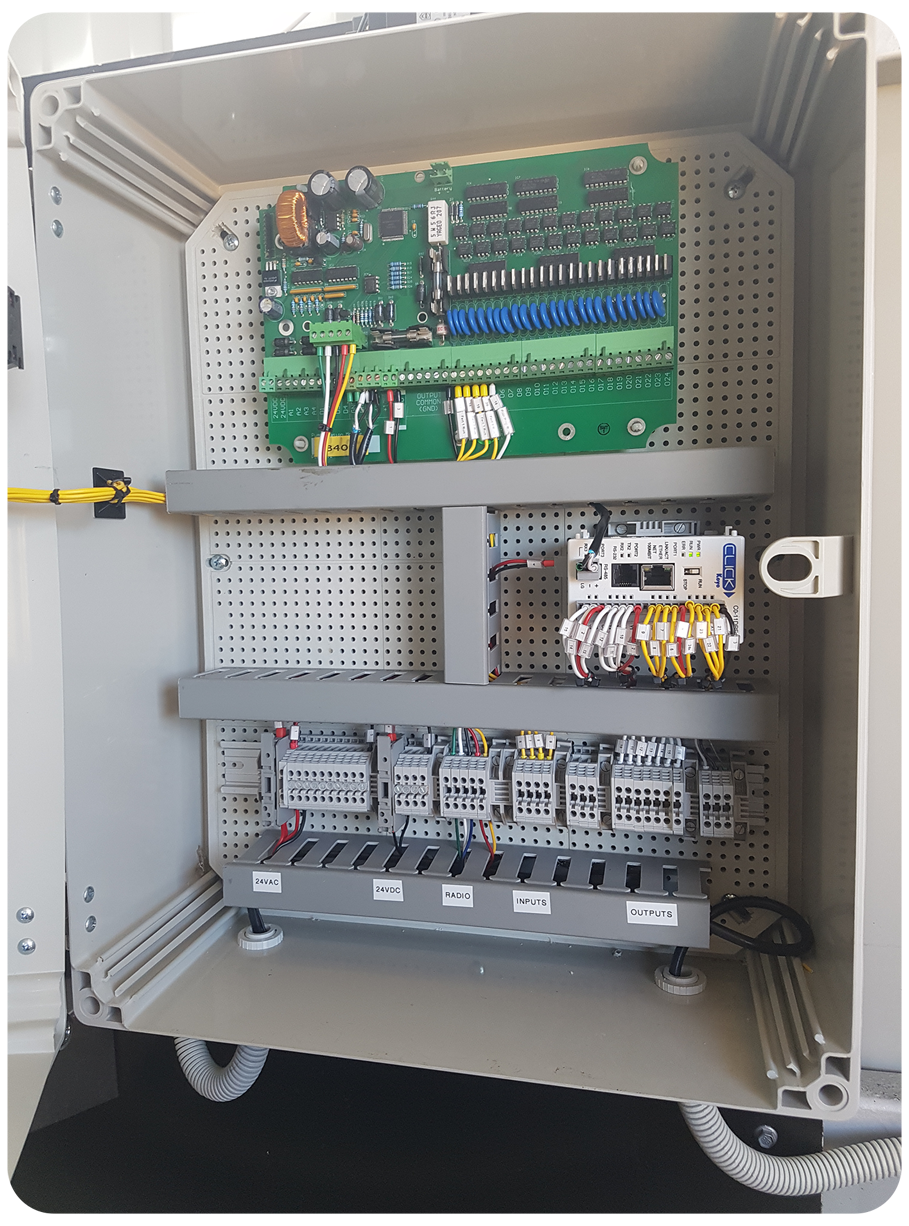
Pump Box Opened
Pump Control
Pump Control 2
Pump Control 3